OpenAP - hardware
Note: this information has been archived from opensource.instant802.com
This work is too important to be served from only one site.
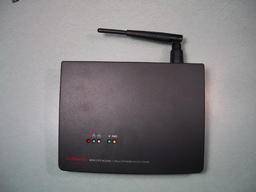
Unscrew the antenna. Use pliers to remove the nut around the Reverse-TNC antenna connector. Remove the screws from the back of the access point. Take off the covers.

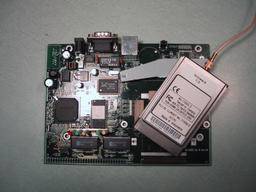
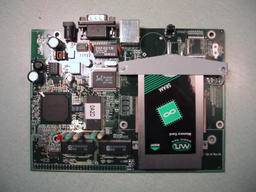
Loosen the wireless card

The wireless card is held down by a metal bracket. In order to force the bracket off of the board, pinch the plastic ties with a pair of pliers.

Remove the wireless card
Remember where you put it. You will need it later.
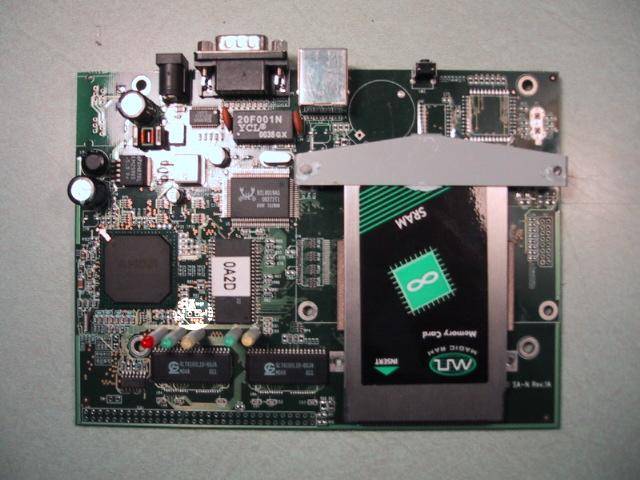
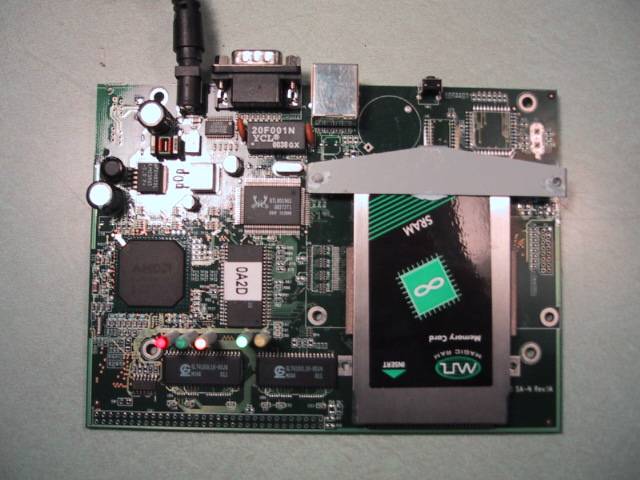
Insert the flash card
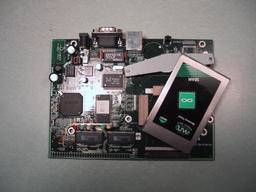
The opposite of insertion is desertion.
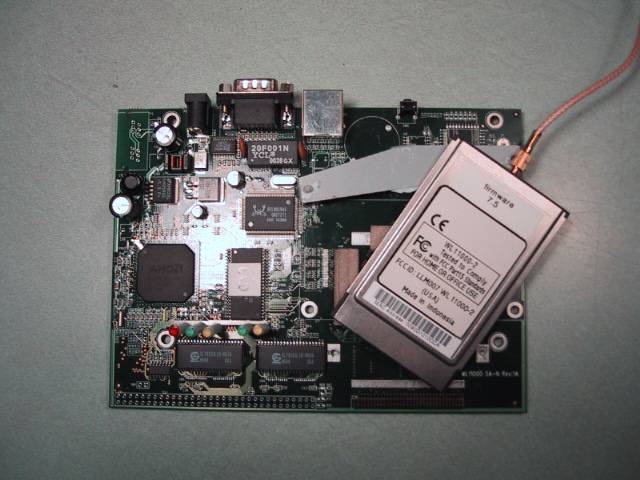
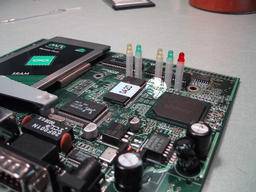
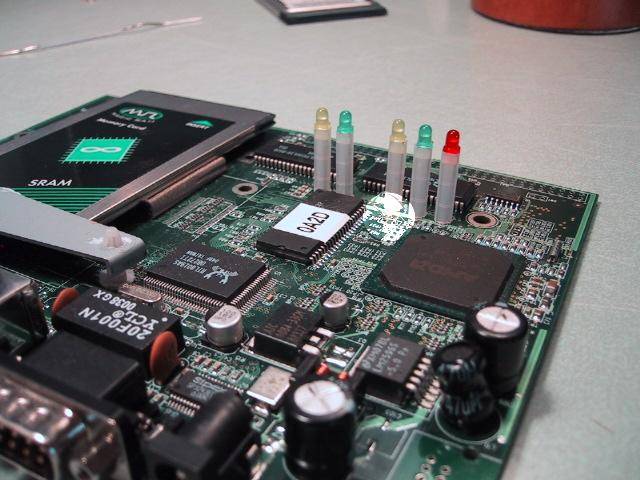
Locate "the jumper"
The JP2 jumper is located between the trio of leds, the processor, and the flash chip. On board powerup, shorting the JP2 jumper will force the board to boot via a linearly mapped memory card found in the pcmcia socket, instead of the flash chip.
Booting from the memory card is only required to install the OpenAP flash image on a new access point. After an access point has the OpenAP software installed, further upgrades of the flash image do not require the memory card, since the OpenAP distribution includes the tools to upgrade the access point over the network.
Short "the jumper"
Short the jumper with something metal (a staple).
Plug in the access point

Plug in the access point and watch for the the coupled green and yellow LEDs (led4 and led5) to flash back and forth. As soon as you see this happen, stop shorting the JP2 jumper. If
Wait and watch for the flashing to end
Once the access point has finished flashing, it will reboot. On reboot, so long as the jumper JP2 is not shorted, the board will boot from the flash chip. You will know this by waiting and watching the coupled green and yellow LEDs, which will flash alternately and more quickly, once the process is complete.
Reassemble your new and improved access point
Voila!