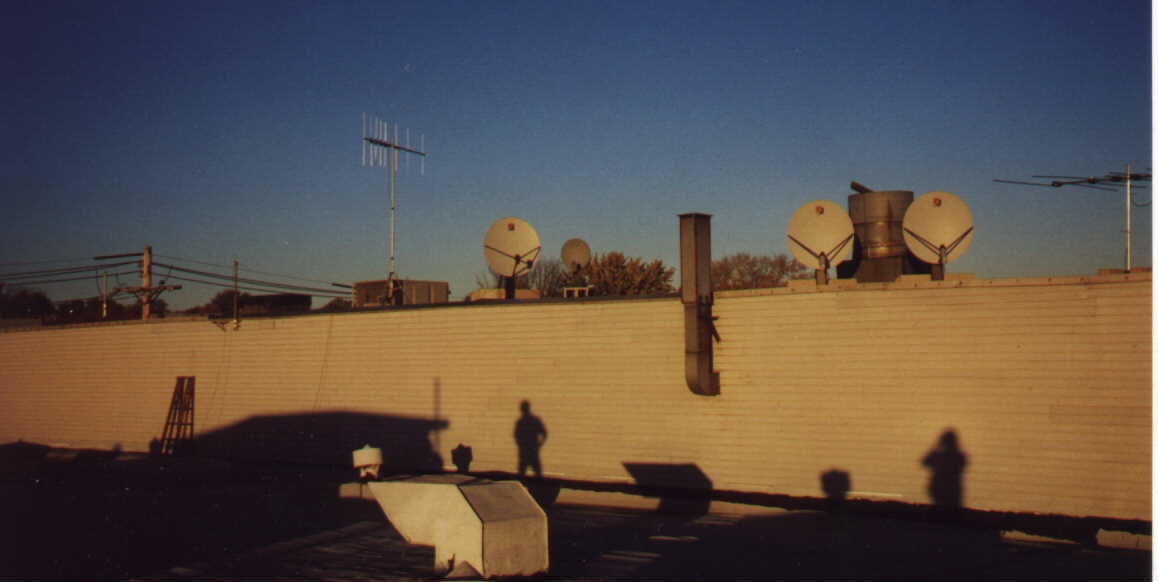
This is a view of the l0pht antenna farm from the roof, pre-tower.
The Beam is a 2 meter yagi operating 1200Bd packet, pointing at MIT. The
3 dishes are pulling in newsfeeds and the FM antenna at the right is just
for pulling in the local college radio stations.
|
|
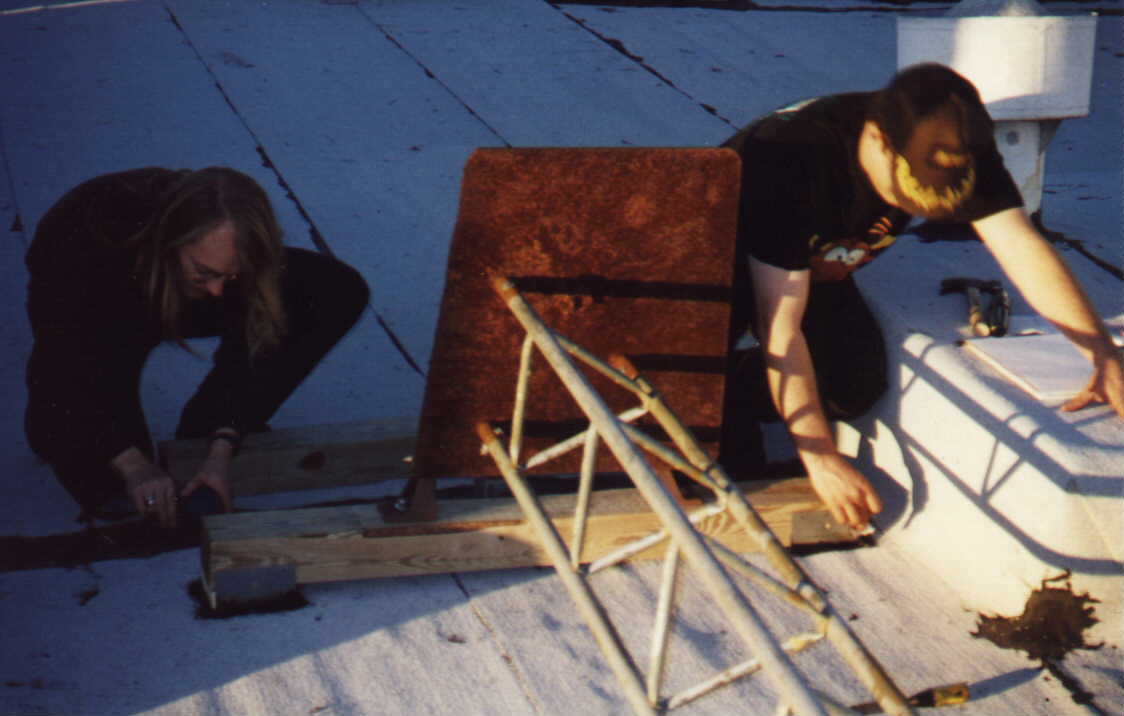
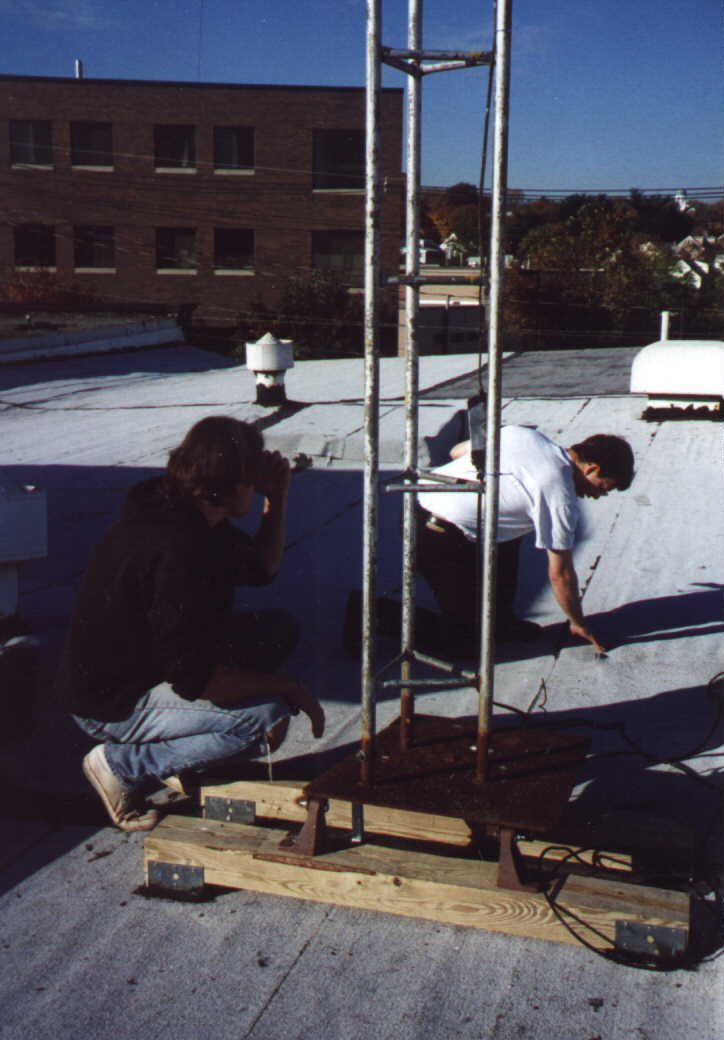
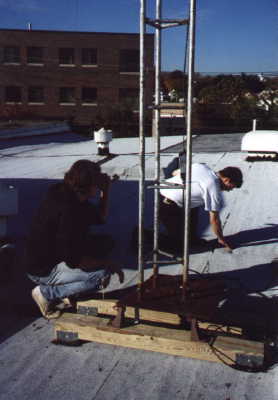
Brian Oblivion (left) and Space Rogue (right) work on securing the
base of the tower to the roof before "walking" the structure up.
|
 |
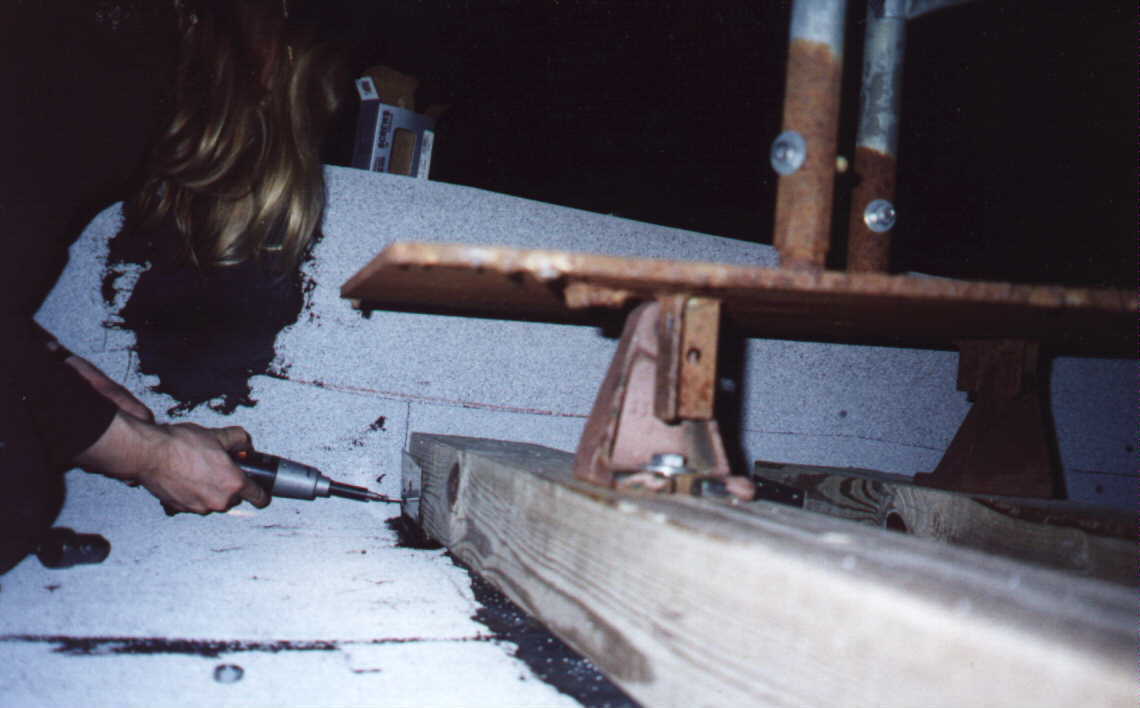
Again, Brian Oblivion working on the base of the Tower. We used two
4x6 pressure treated blocks of wood. They are attached to the roof via
two metallic U-brackets and secured by 5 inch woodscrews into the crossbeams
supporting the roof. All entry points are sealed with tar. The tower actually
rests on two hinges and a third support which is bolted to the baseplate
when tower is erected. The supports can be seen in the image at the left.
|
 |
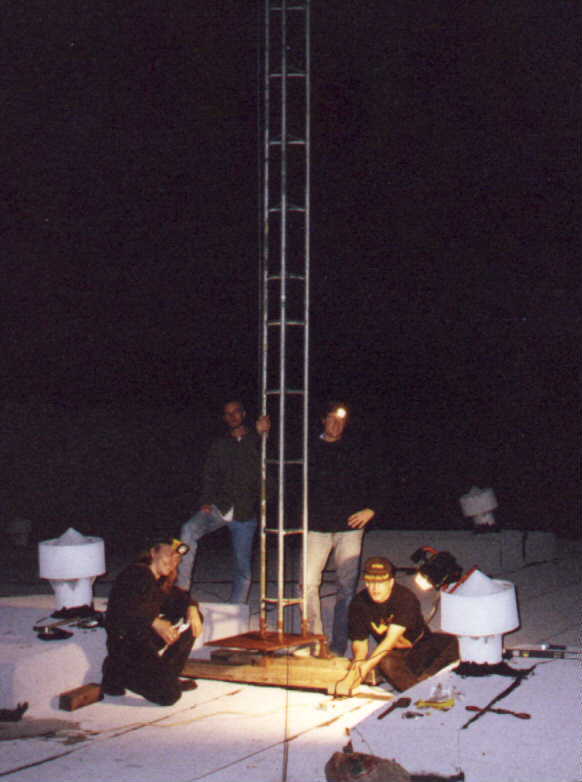
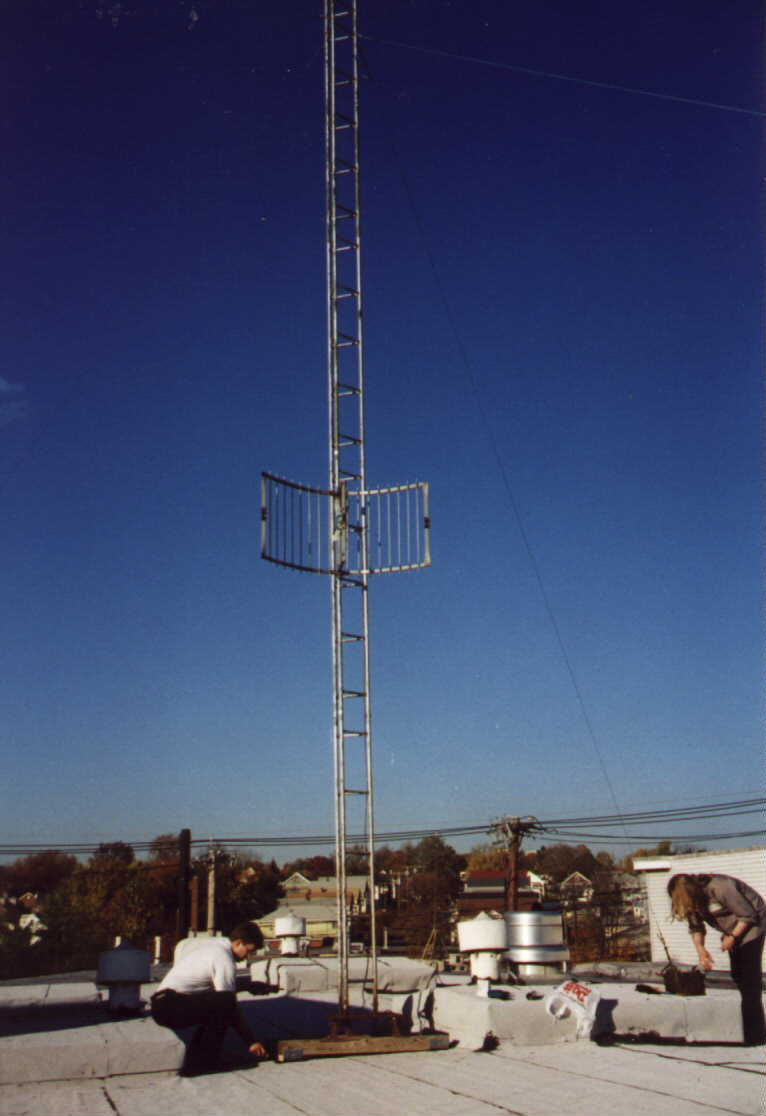
There is Brian Oblivion, yet again, securing the remaining leg now
that the non-hinged manifold has been secured and bolted to the baseplate.
Notice that darkness has fallen yet the l0pht crew continues to work until
late in the evening. We actually finished guying the tower at 1AM later
that evening.
|
 |
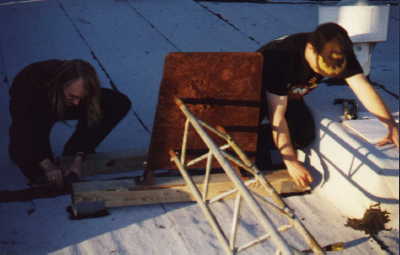
Guying the tower is one of the most critical tasks. We guyed each opposite
end loosely and the tightened each guy in the same fashion as they were
installed. Here we have Brian Oblivion tightening the U-Clamps while Kingpin,
Weld and Space Rogue apply the appropriate amount of tension to the line.
A turnbuckle is between the loop created by the U-clamps and the hook attached
to the roof. Further tension applied to the guys is achieved by tightening
the turnbuckles.
|
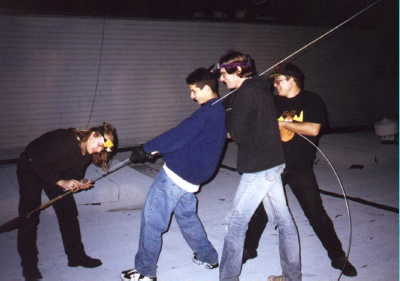 |
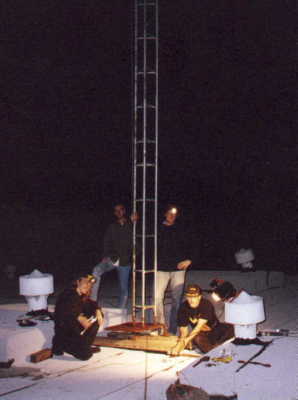
The guys take a break after a long night of work. We broke out the
sodium-vapor work lights and sported strapon headlamps to finish the good
work. Here we have, starting on the left, Brian Oblvion, Tan, Weld Pond
and Space Rogue.
|
 |
Next day and we check our handiwork and also for any damage we may
have caused to the roof while assembling and erecting the tower. All holes
would be patched immediately.
|
 |
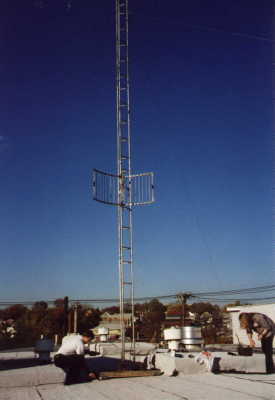
The end of the project. The tower is erected and a simple UHF-HI band
antenna is attached and pointed towards a local Trunking system. Other
antenna's currently on tower but not pictured are: 2 meter omni-directional,
900MHz Yagi, and 800MHz Omnidirectional. Mulitband HF Quad mounted at top
with rotor is soon to become the latest addition come Spring 1998.
|
 |