I-Bomb:
Images
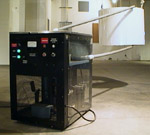
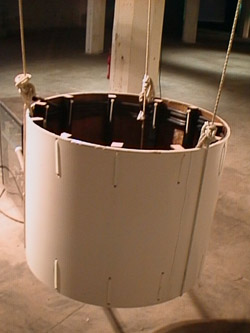
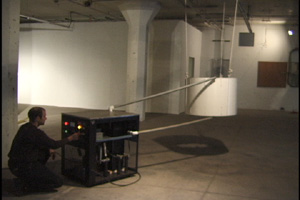
Main view of charging unit and coil
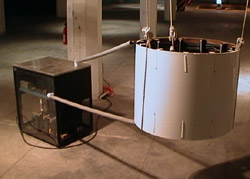
View from Coil looking down
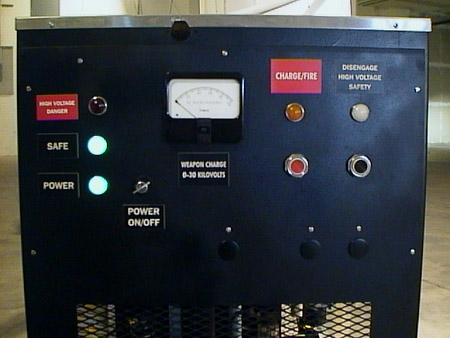
Operators control panel
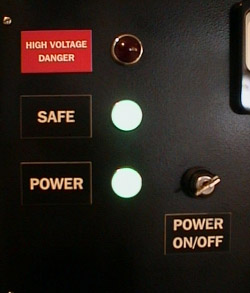
Status indicators and key power switch
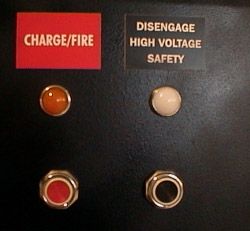
Operation control buttons
Wide view of control panel
Close-up of Coil
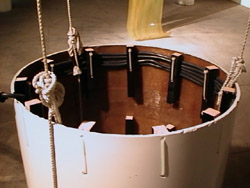
View looking into coil
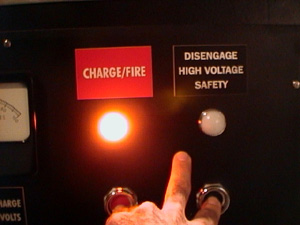
Charging/Firing sequence initiated with high voltage
safety disengaged
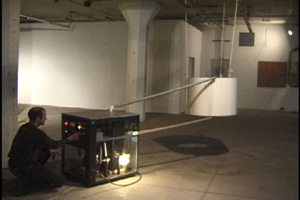
Firing the I-Bomb
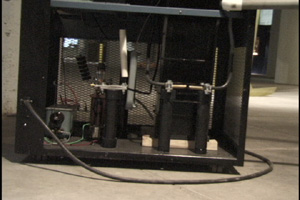
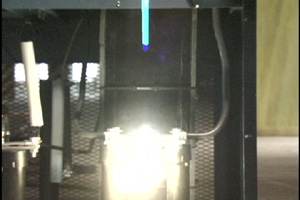
Close-up view of spark-gap discharging into coil (before and during)
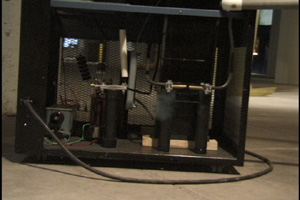
Close-up view of spark-gap discharging into coil (after)
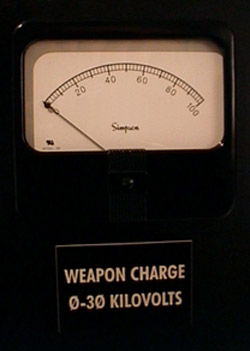
Weapon charge indicator gauge
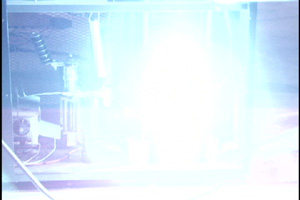
Capturing the moment of maximum energy release into I-Bomb
Another I-Bomb firing to create a TFZ