The military often uses flashing infrared beacons to mark perimeters, identify targets, outline landing zones, or to mark friendly forces. Since these beacons operate at infrared wavelengths, they are not visible to the human eye but are easily viewable with standard light-amplification night vision gear.
The most common of these beacons is made by KERIF Night Vision (NSN: 5855-01-438-4588) and is called the "Phoenix Jr." or "Firefly." They have two main versions, with one running off a standard 9 volt battery and the other using a CR123 battery.
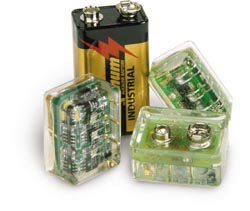
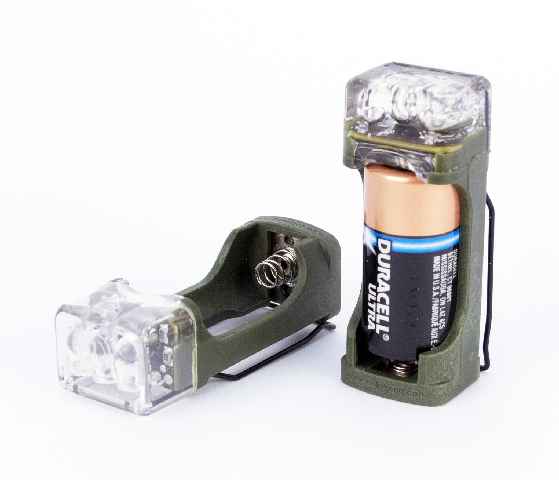
The Firefly uses three infrared LEDs operating at the 880 nm wavelength. The flash rate is 1.3 seconds and the flash duration is around 20 milliseconds. This flash rate was chosen to minimize confusion with small-arms fire.
The beacons offer an omnidirectional optical coverage zone of 240° x 360°.
The funny thing is, these infrared beacons are covered via International Traffic in Arms Regulations (ITAR) and sales are restricted by the U.S. State Department to law enforcement or government agencies only!
Yep, three infrared LEDs, a battery, a 555 timer, a couple transistors, resistors & capacitors - all of which are available from Radio Shack - are considered "restricted" by the U.S. government.
So... Here's how to make your own!
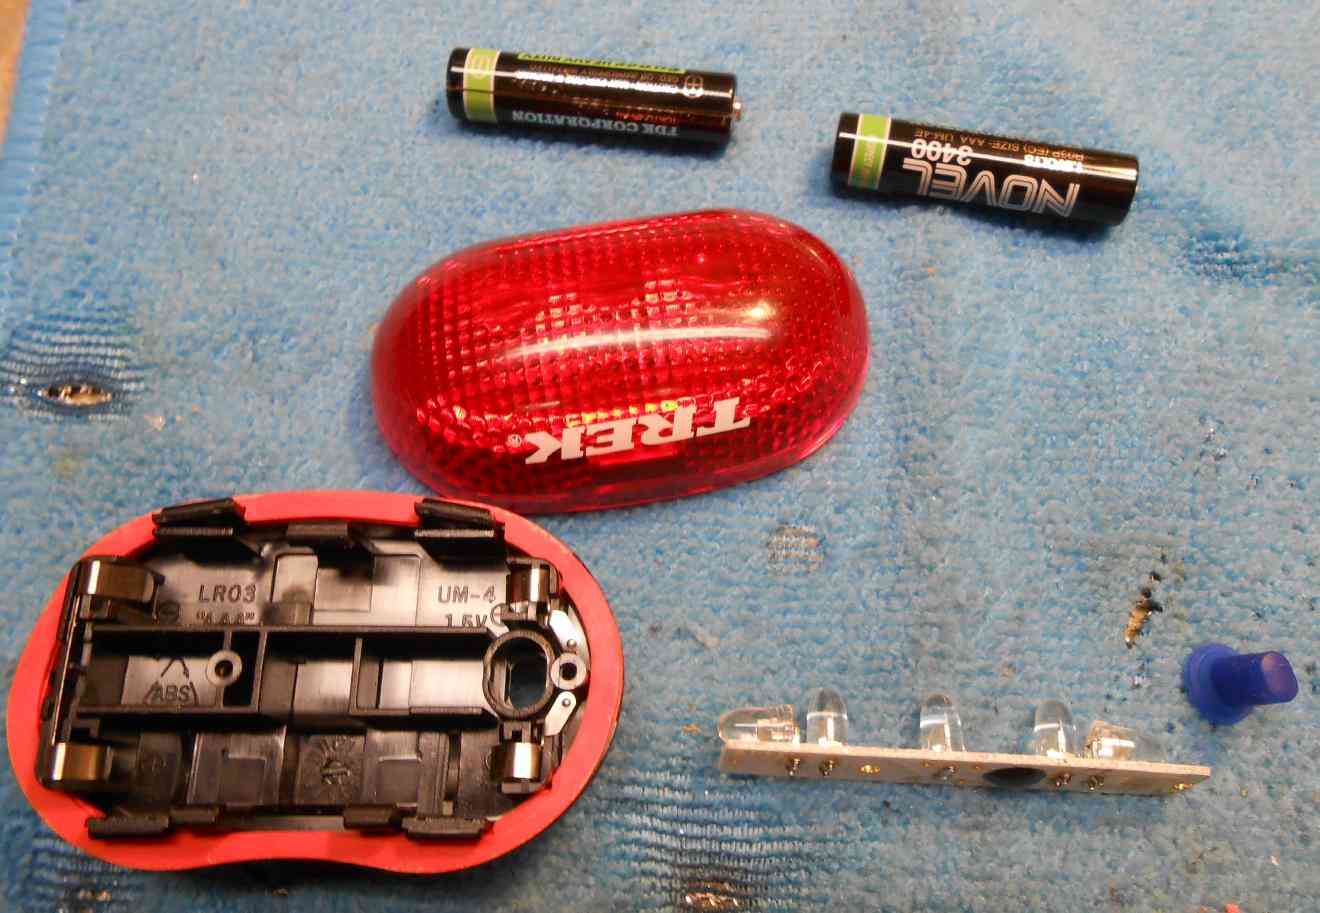
First, you'll need a flashing red LED taillight from your local bicycle shop. There are a whole bunch of different models available, but make sure it has a selectable "flashing" mode.
Take the tailight apart and count the number of LEDs inside it. The Trek Flare model used for this article had five red LEDs - three facing forward and two facing off to either side.
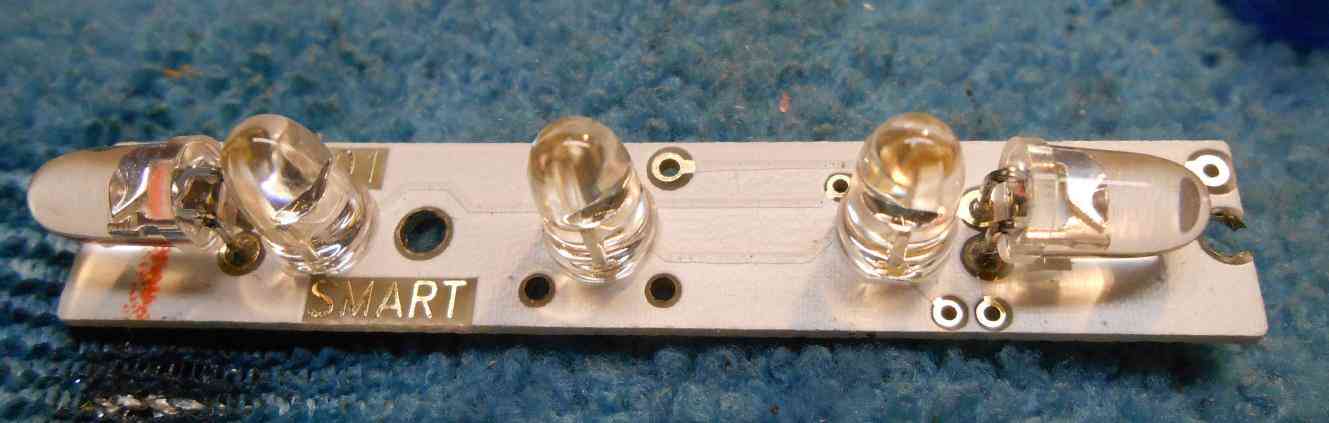
Closeup view of the stock red LEDs in the flashing Trek taillight.

Bottom view of the circuit board.
There's not much too it and you can't really adjust the flashing rate. Most of these bicycle taillight beacons tend to flash a little faster than the Fireflys.
The +3 VDC power from the two "AAA" batteries is applied via those pads on the upper-right.
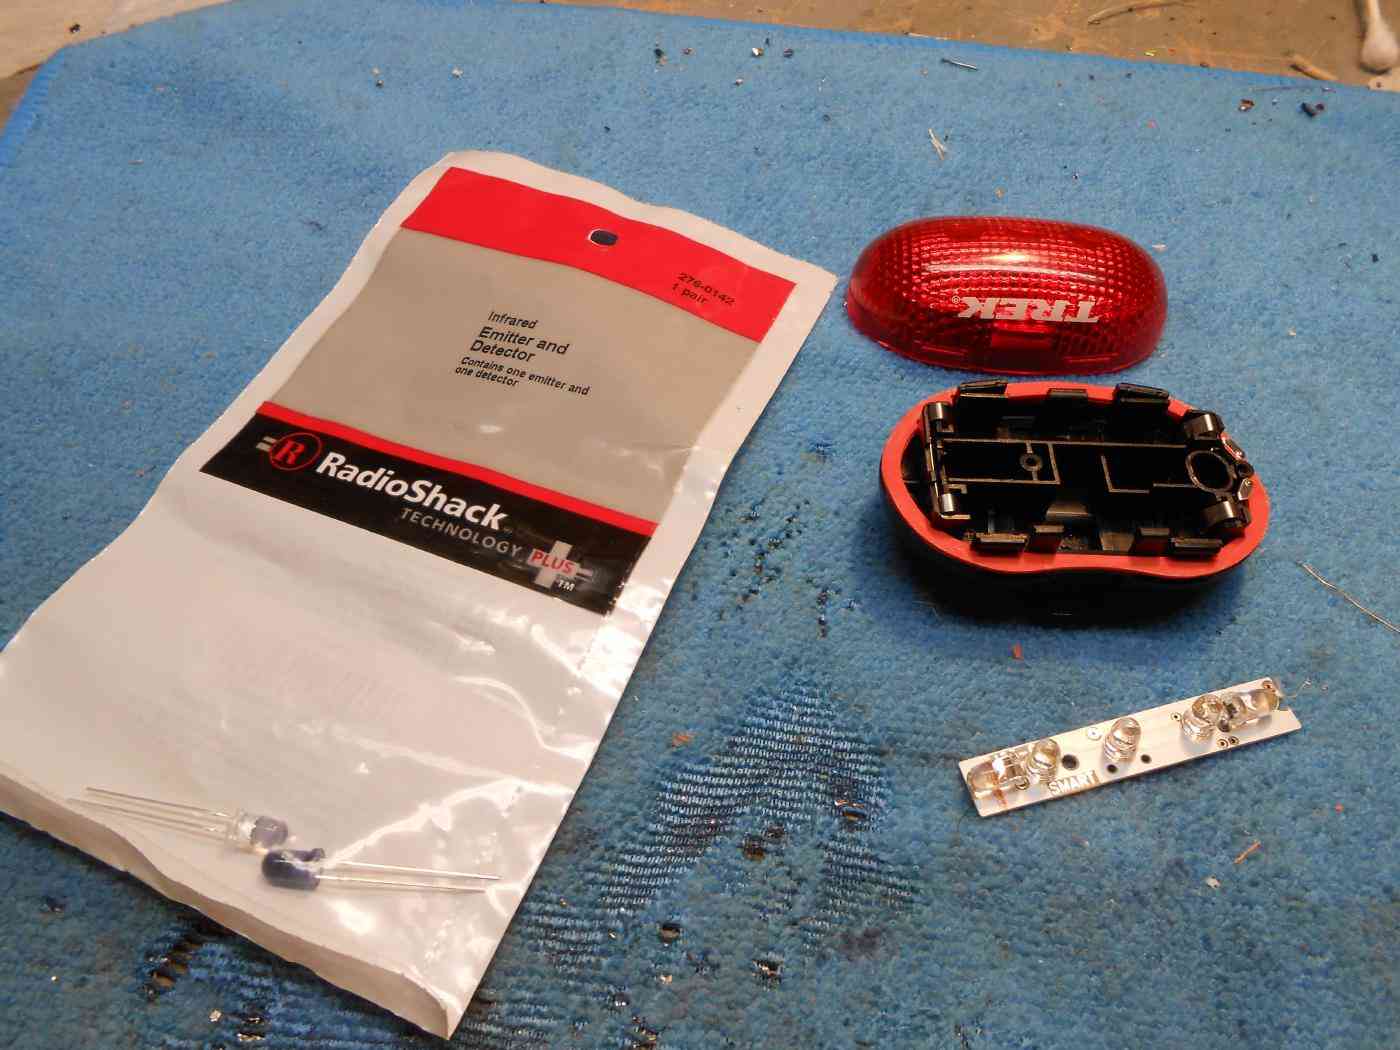
Go to Radio Shack and pick up some infrared LEDs (Part #: 276-0142). These come paired with a phototransistor, but the infrared emitting LED (850 nm) will be the one with the tinted lens package.
Another source of infrared emitter LEDs (940 nm, usually) is from old TV/VCR remote controls.
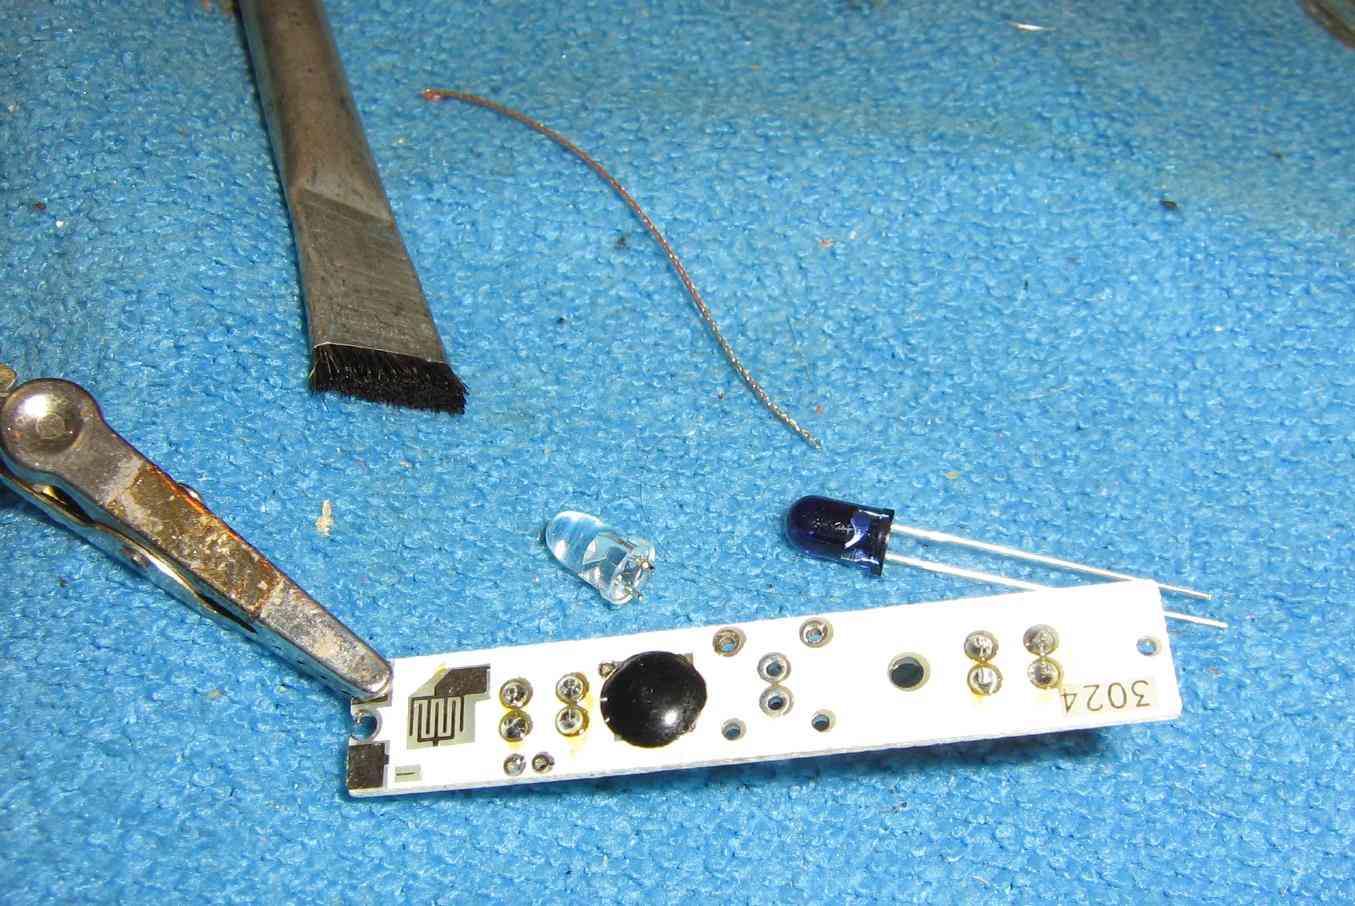
Unsolder the stock LEDs in the taillight, being sure to note the "flat" side of the LED's package. That will be the cathode or negative lead.
You should double-check the polarity of the LEDs with a multimeter, as the "flat" side isn't always the cathode on some of the cheaper import LEDs.
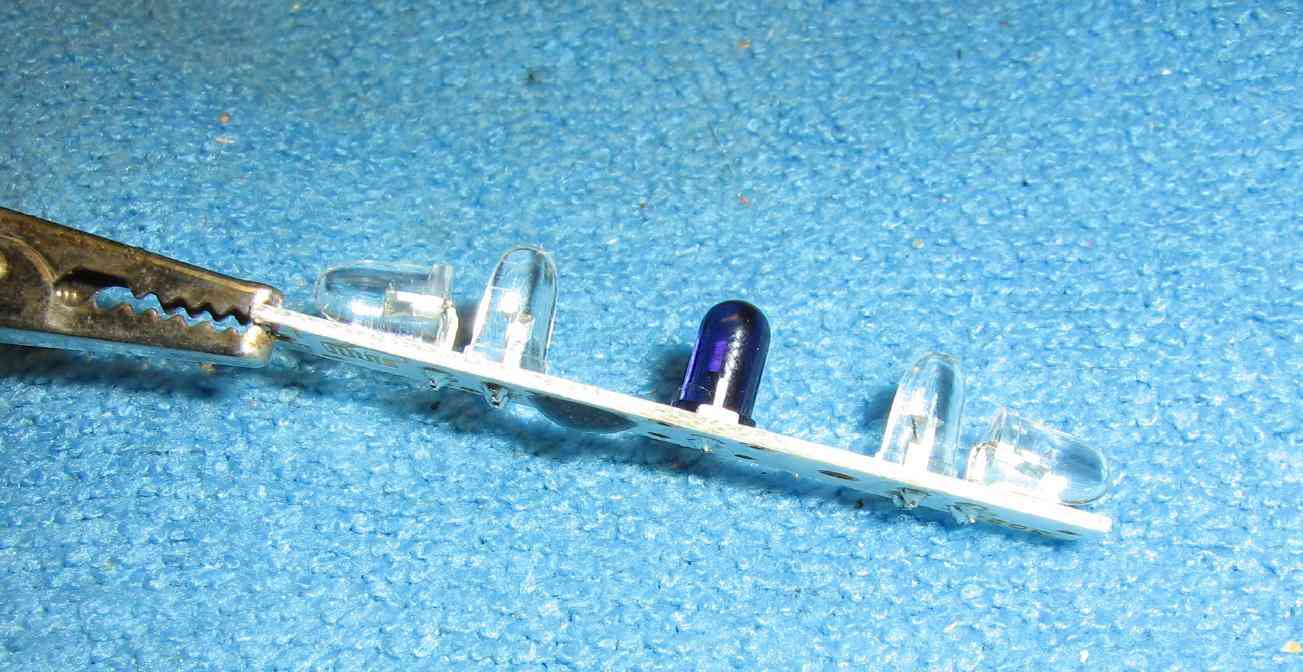
Install the new infrared LEDs, again noting the position of the "flat" side of the LED.
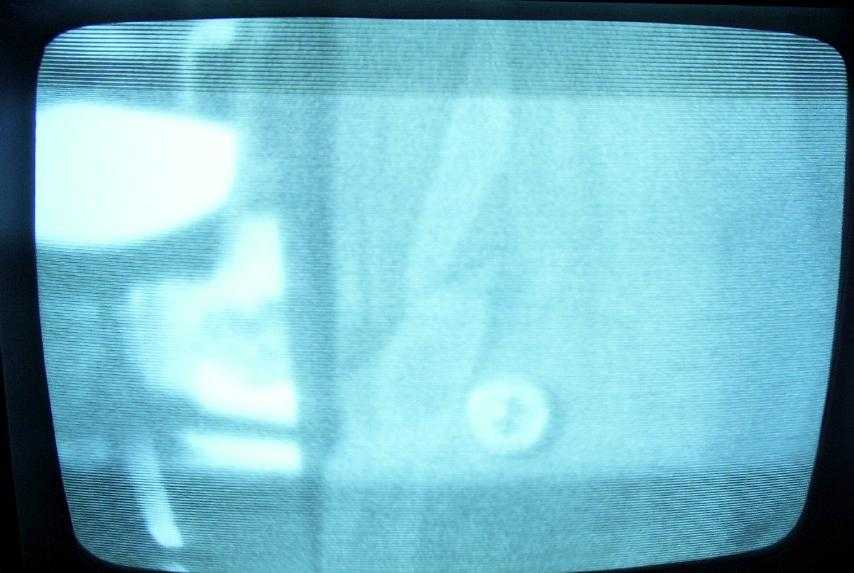
Reinstall the batteries and test the unit by viewing it with a video or cell phone camera (which may require removing the internal infrared blocking filter), or by using your own night vision gear.
The infrared LEDs should NOT be visible to the human eye but should be readily viewable with your night vision setup.