Overview
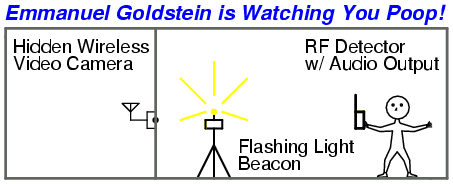
A simple way to locate a video signal or hidden video camera is to operate a flashing light "noise" source within the camera's likely coverage area. Then, when performing a TSCM sweep of the area with a RF spectrum analzyer or receiver, this noise source will show up as a "raster buzz" which will be in synchronization with the flashing light beacon. Wireless video cameras will be the easiest to detect, as they emit a strong RF carrier. Hardwired cameras can also be located via this method, but you'll need to do a RF search for any timing crystal or horizontal/vertical synchronization signal leakage. This can be a pain, as these RF signals or their harmonics, may be under 1 MHz.
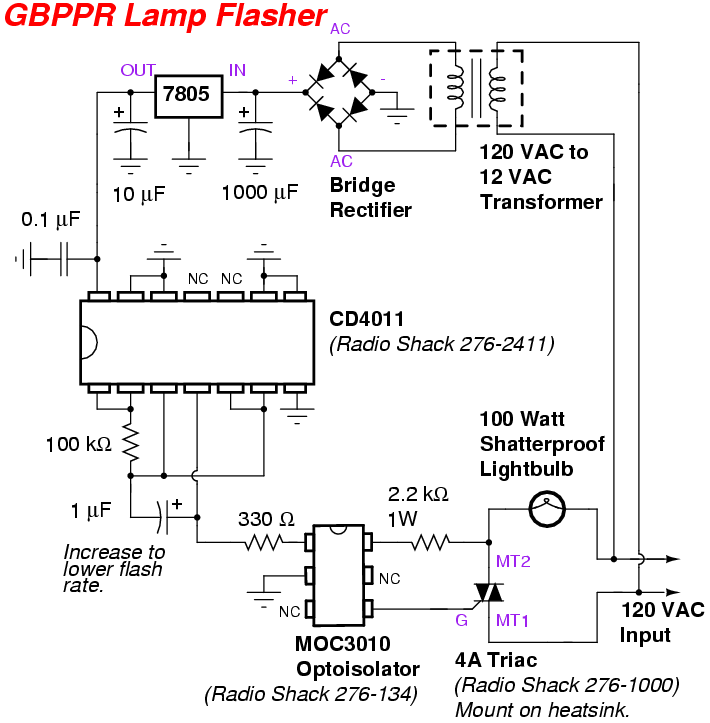
Construction of this device is quite simple. A 4011 dual-input NAND gate is configured as a low-frequency (3 Hz or so) square wave source. The square wave pulses are then applied to a MOC3010 optoisolator (Radio Shack Part Number 276-134) with a triac driver output. The MOC3010 then controls a standard 6 Amp triac (Radio Shack Part Number 276-1000) which is in series with one lead on a standard 100 watt lightbulb. Everything is mounted inside an octagon electrical box with a fiberglass lamp holder for the cover. The octagon box is then screwed onto an old laser level tripod. An optional metal guard protects the light bulb while it's in the holder and during transportation. Ideally, the lamp flasher should be located in the center of the target area at about waist height and with all the other lights in the area turned off.
With the operating lamp flasher beacon in place, begin to continuously sweep the RF spectrum to at least 10 GHz. Be sure to use a RF detector or spectrum analzyer which has an audio output feature. If you detect a RF signal whose demodulated audio contains a "buzzing" noise in sync with the lamp flasher beacon - well, you've discovered a hidden video camera! To help verify the location of the camera, block one side of the lamp flasher's lightbulb with something opaque until the "buzzing" goes away. The hidden video camera will be within the shadow region that is created.
Pictures
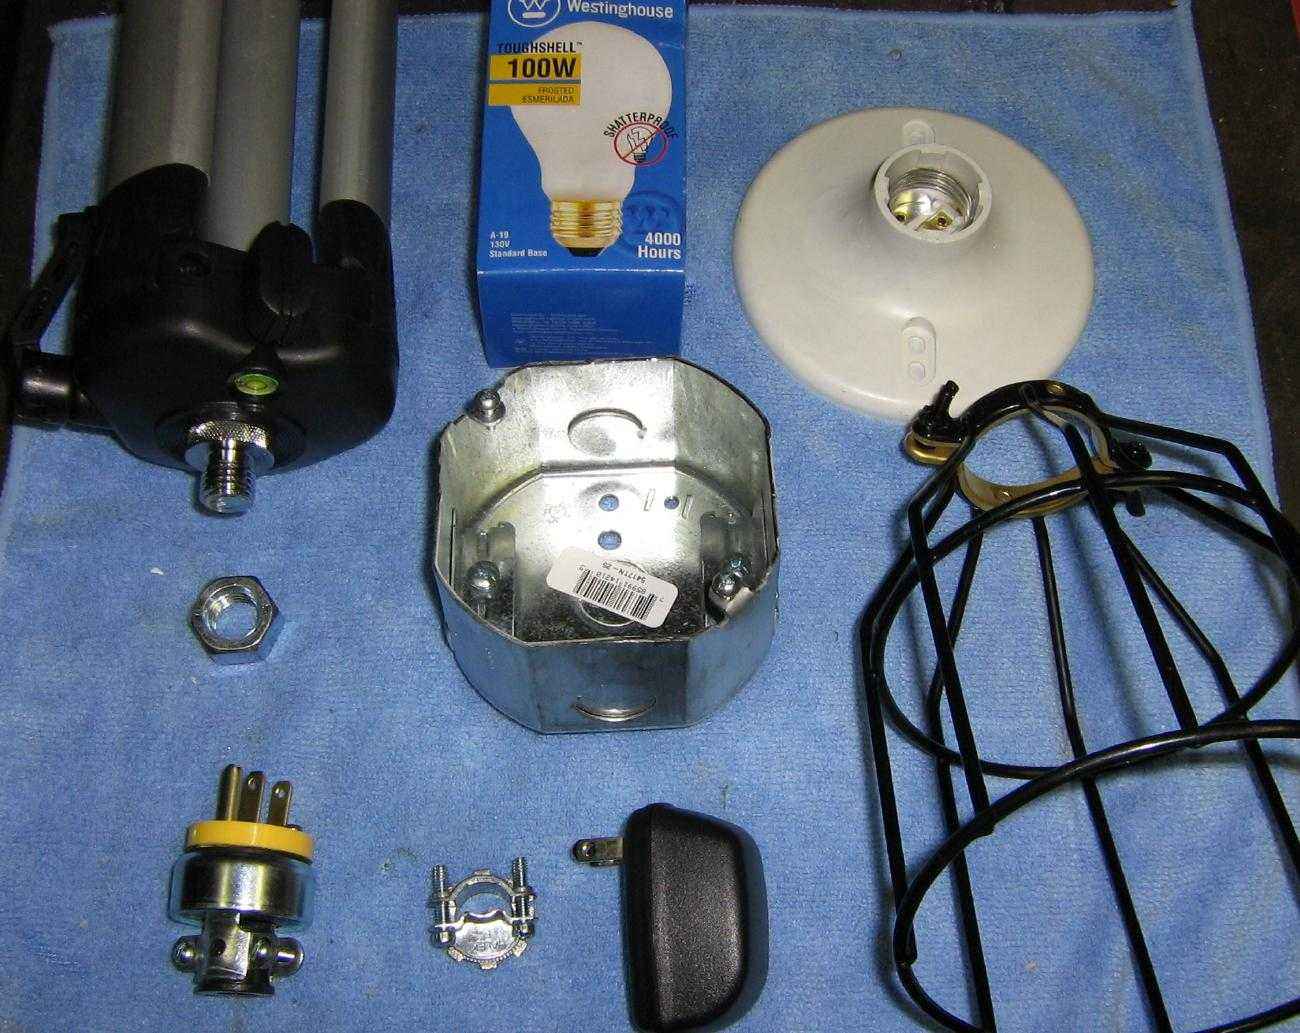
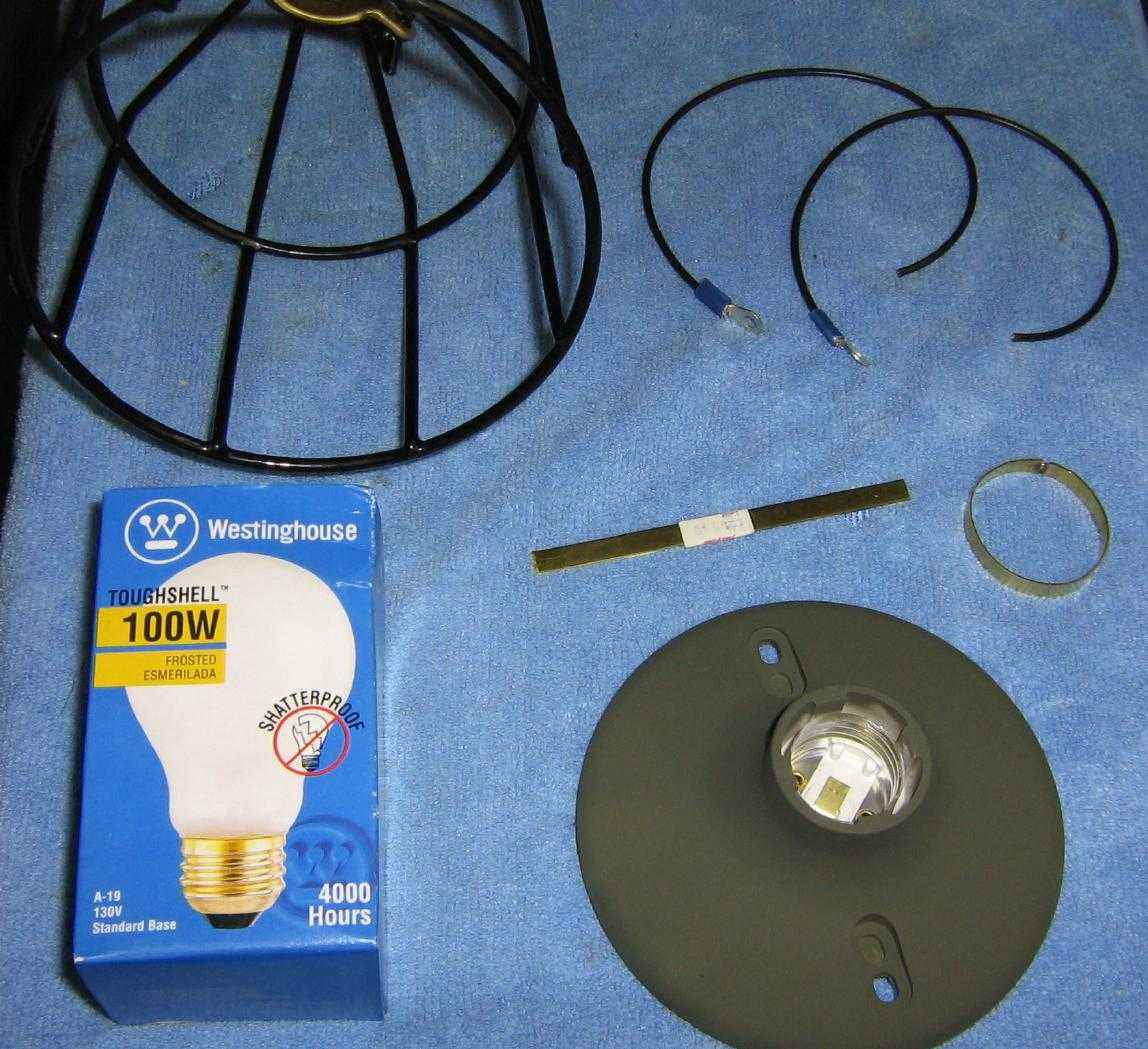
Overview of some of the parts used. Clockwise from the left. A tripod from an old laser level. It used a 5/8-inch threaded adapter instead of the standard 1/4-inch. The coupling nut is shown below it. Next, a shatterproof 100 watt lightbulb, a fiberglass lamp holder, a metal lightbulb guard, a +12 VDC "wall-wart" power adapter, and an octagon electrical box with one of those little screw-in thingys. An AC power plug is shown on the lower-left.
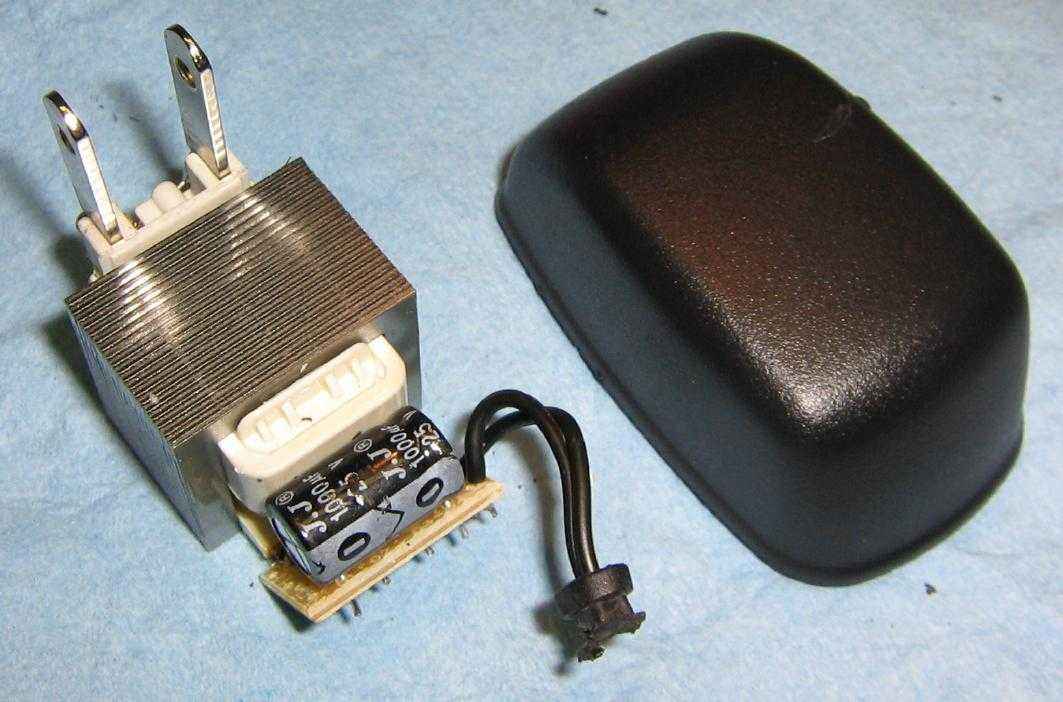
Take the +12 VDC wall-wart power adapter apart and salvage the tiny transformer, the bridge rectifier, and the filter capacitor. This will be turned into the internal +5 VDC power supply for the lamp flasher.
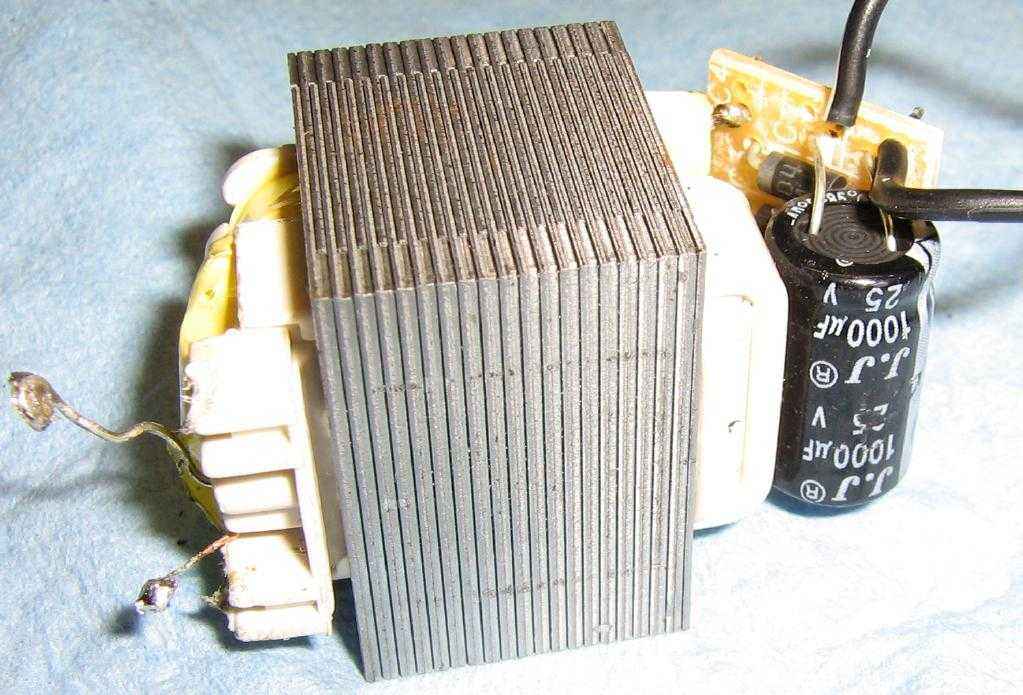
Close up view of the transformer from the power adapter. 120 VAC input is on the left, rectified and filtered DC is on the right. The unregulated voltage output measured around +17 VDC.
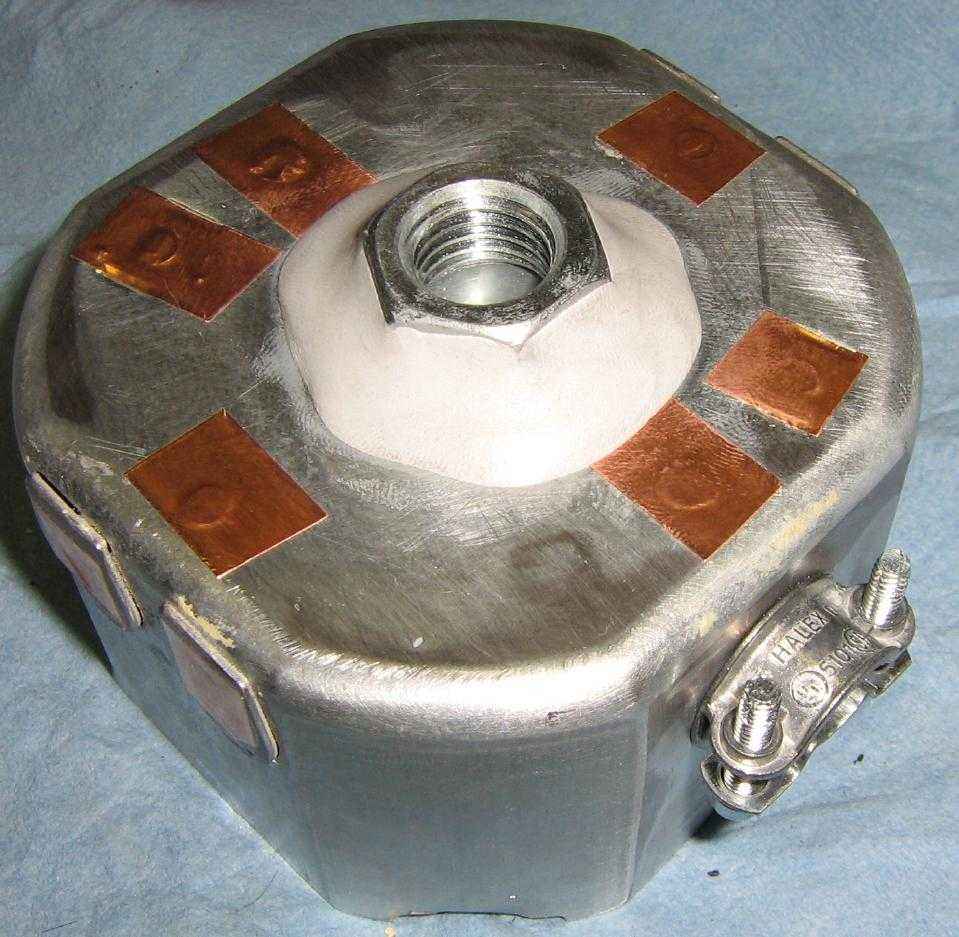
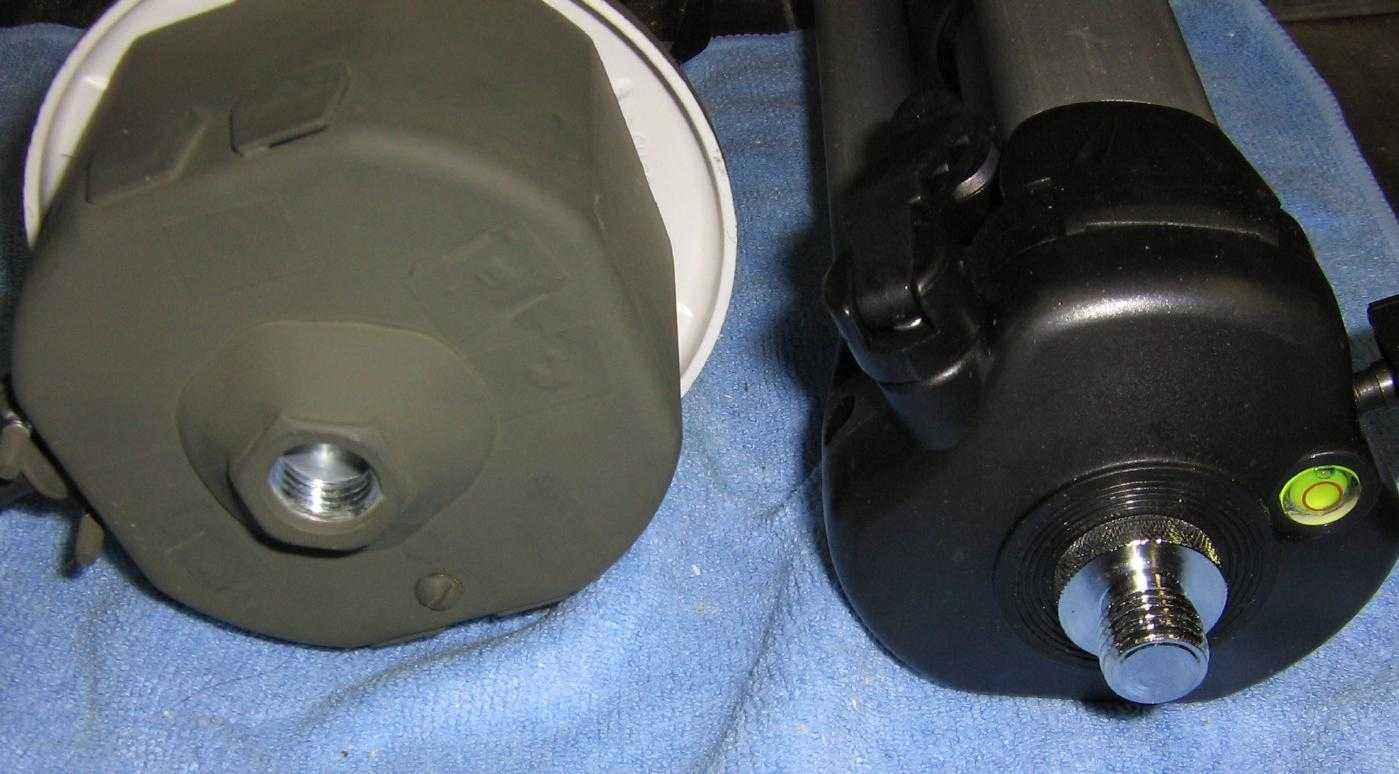
Bottom side of the octagon box with all the extra holes filled and taped over. Also, the 5/8-inch nut was epoxied to the bottom of the box.
Parts for the lightbulb side. The two wires on the upper-right are for the lamp holder. The metal lightbulb guard needed a circular shim to fit properly onto the lamp holder. It was made from a small piece of flat brass stock from the hobby store.
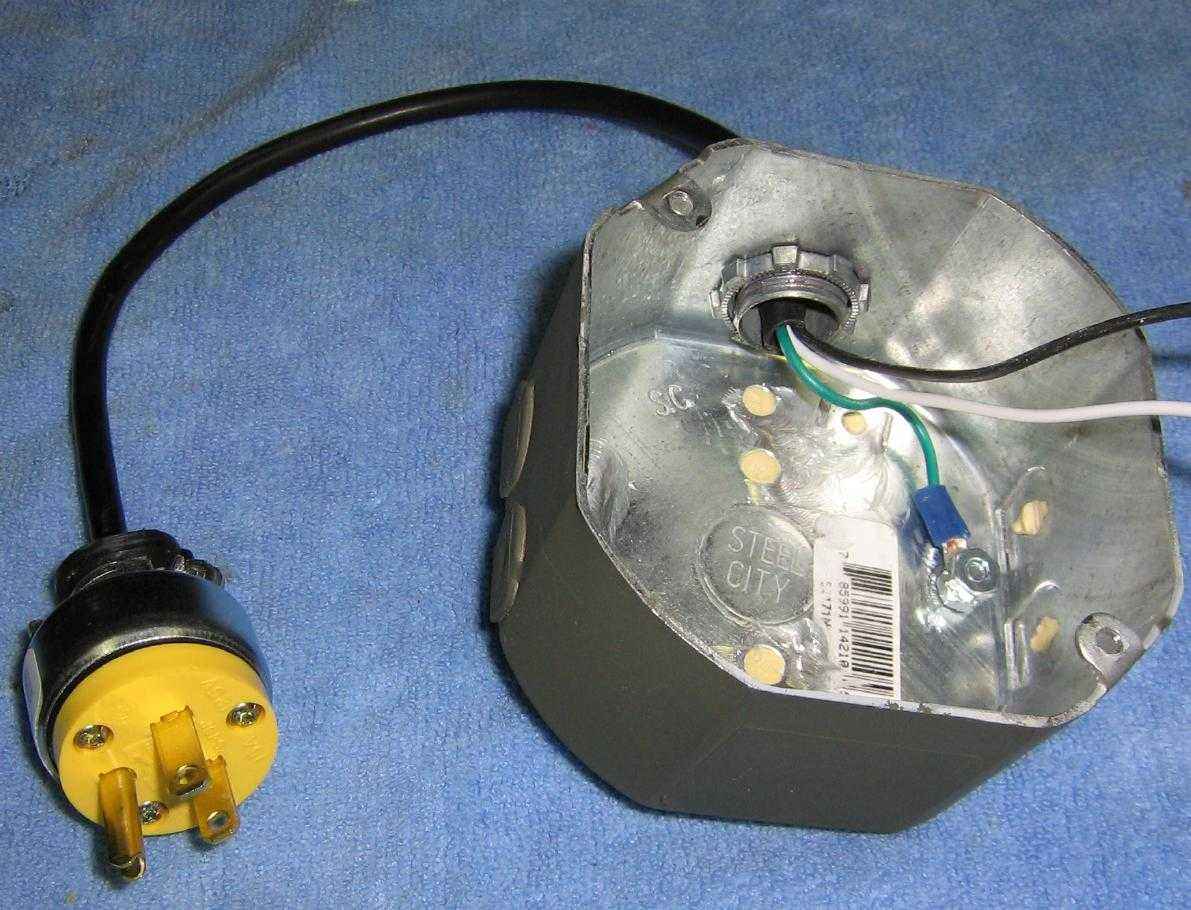
AC power input to the octagon box. Be sure the box is grounded (green wire).
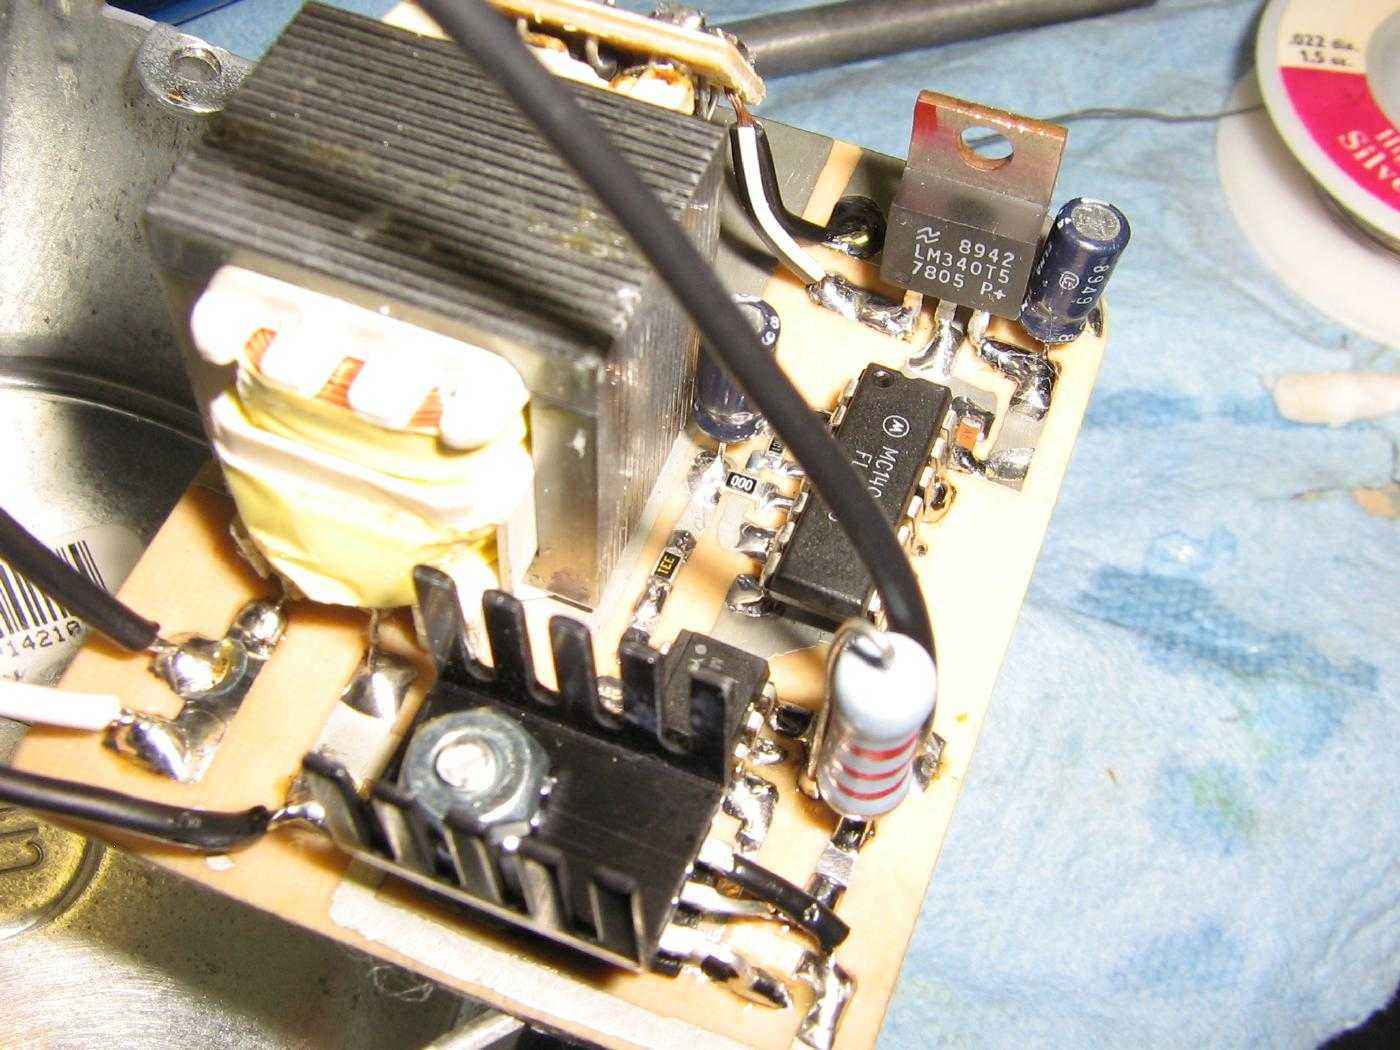
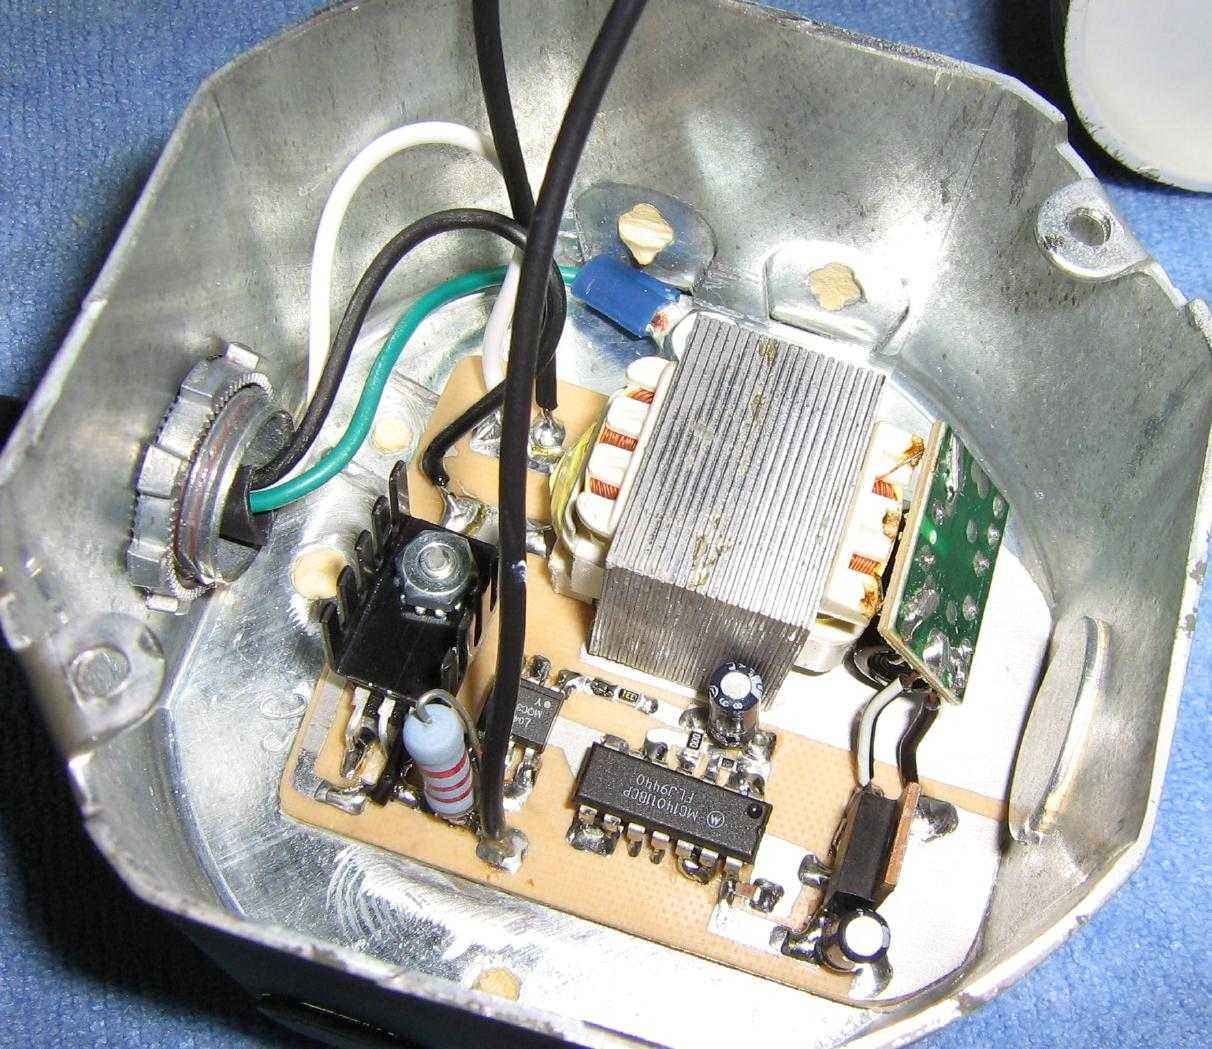
Close up picture of the lamp flasher's main circuit board. The transformer is in parallel with the incoming AC power lines. The triac (lower-left) is mounted on a heatsink. The pin-out for the triac, as listed on the Radio Shack package, is wrong. Facing the rear of the triac, from left-to-right is Gate, MT2, and MT1.
Control board alternate view.
Light bulb connections. Purists may wish to add a few MOVs across the AC input line, a fuse, and power switch. A wireless remote control could also be handy.
Internal view. Be sure the heatsink on the triac doesn't touch anything. The 7805 voltage regulator shouldn't require a heatsink.
Tripod connection view. You may wish to experiment around with different mounting options. Clip-on lamp holders or vise grips will also work.
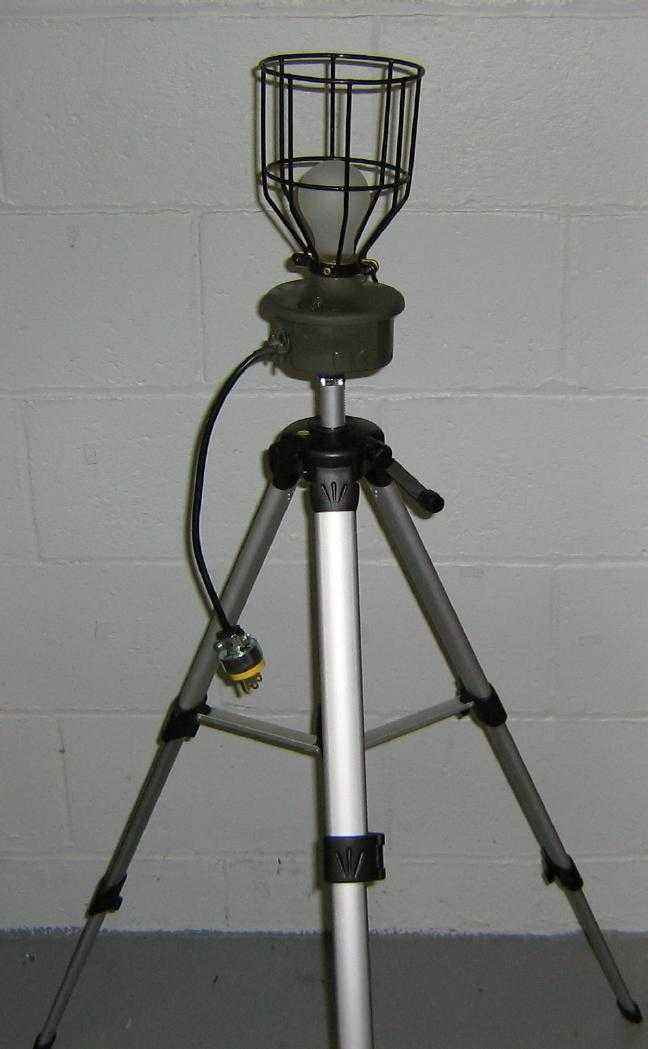
Completed lamp flasher beacon mounted on a tripod.
Schematic
Video
Short video clip of the lamp flasher in operation.
- Lamp Flasher in Action (756k WebM)

