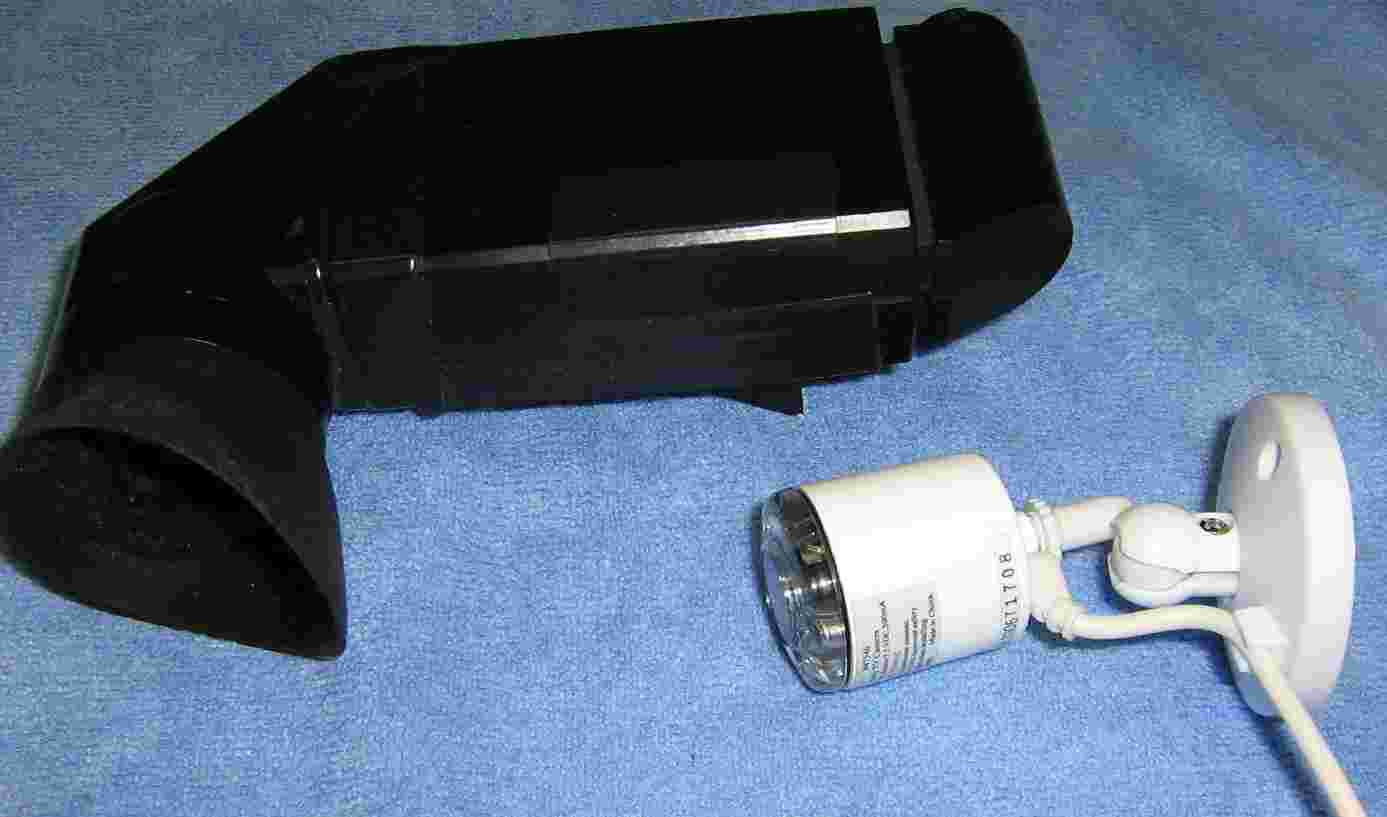
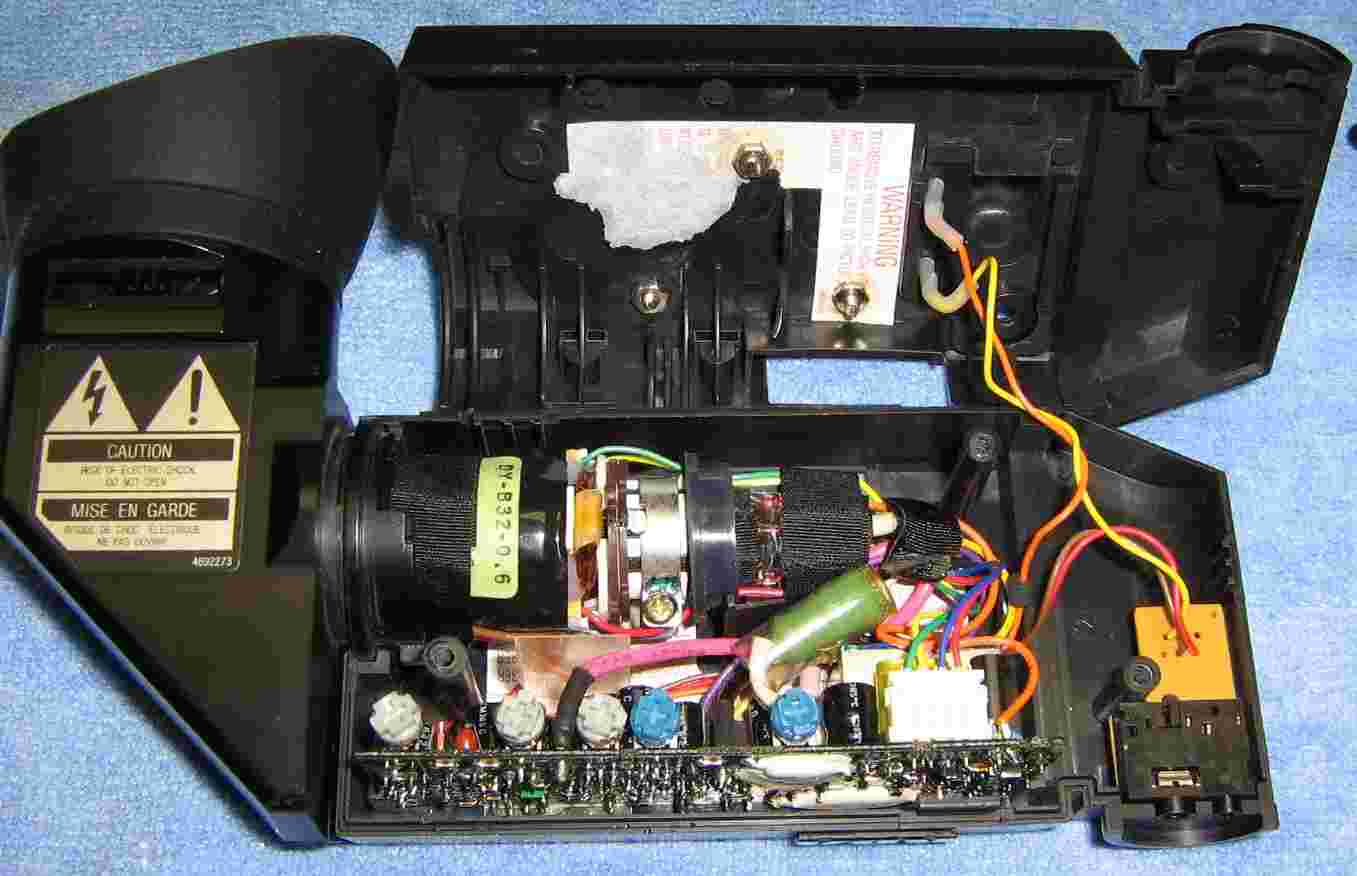
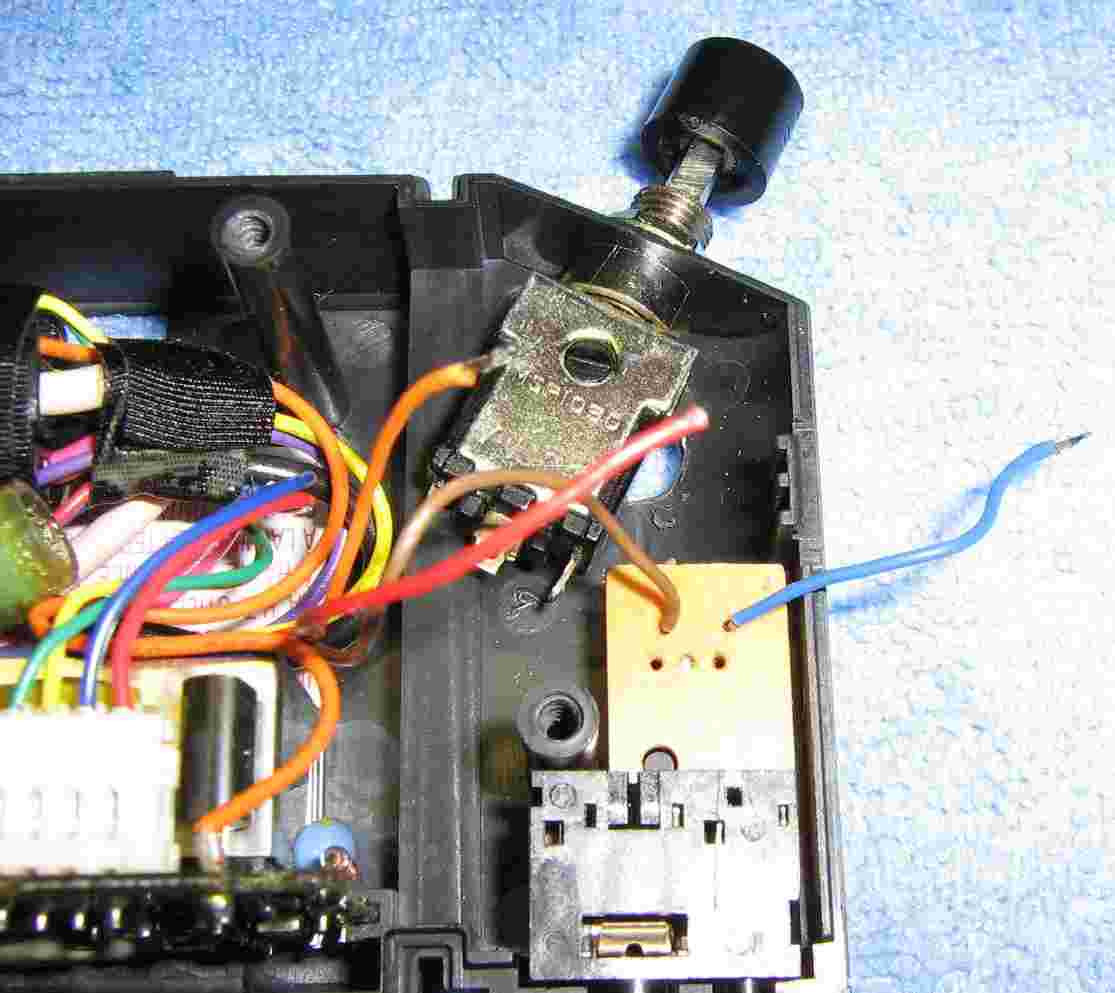
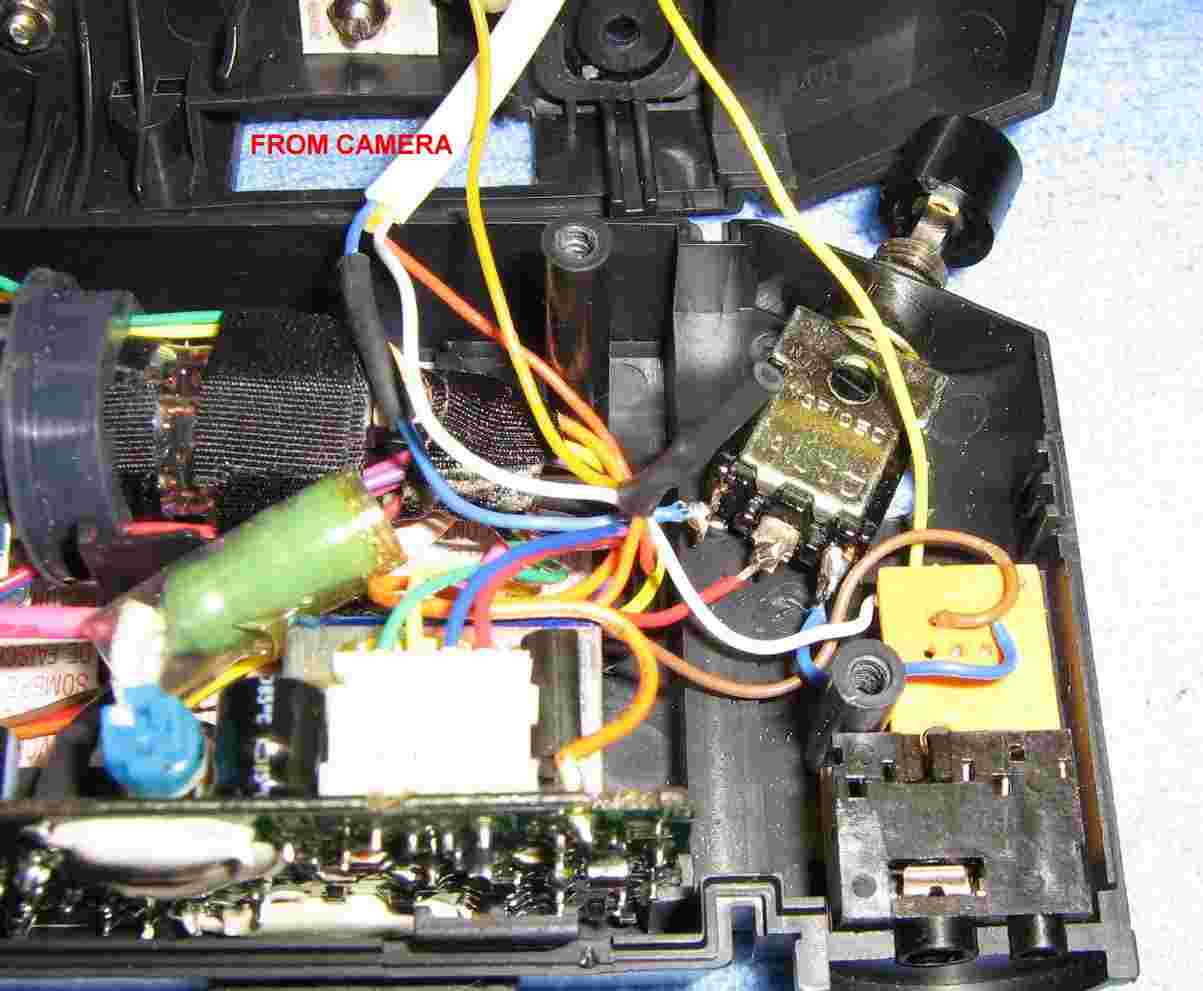
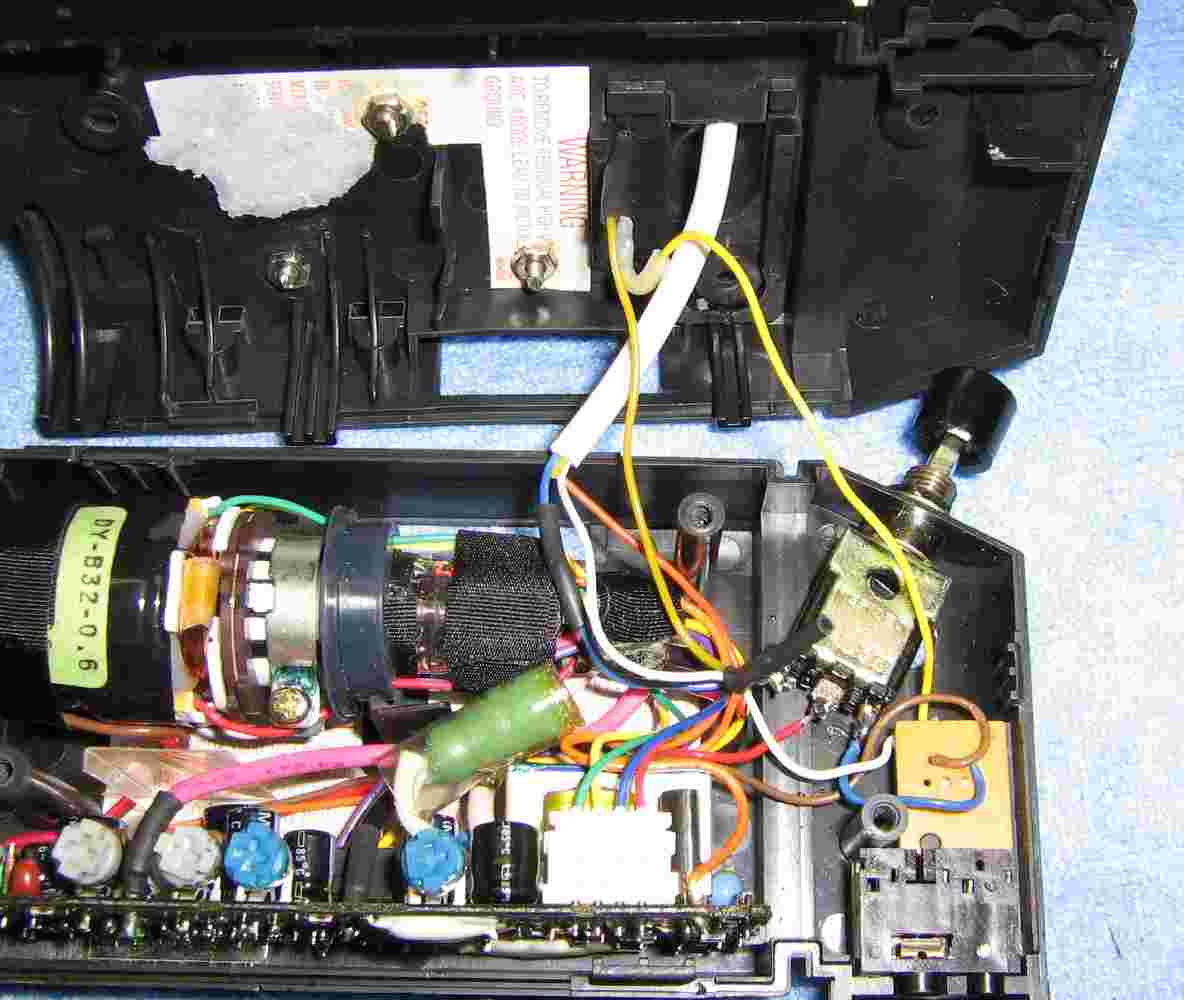
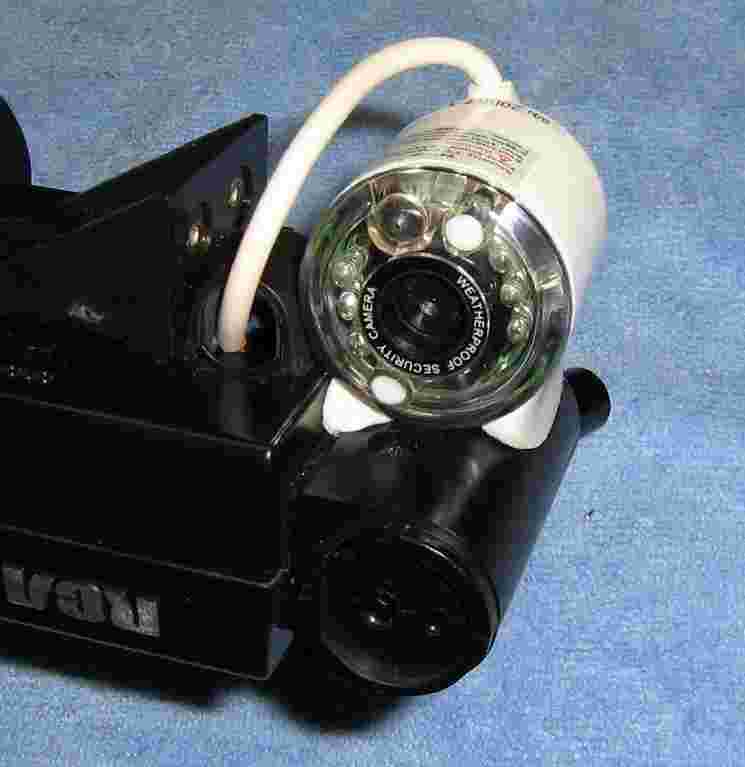
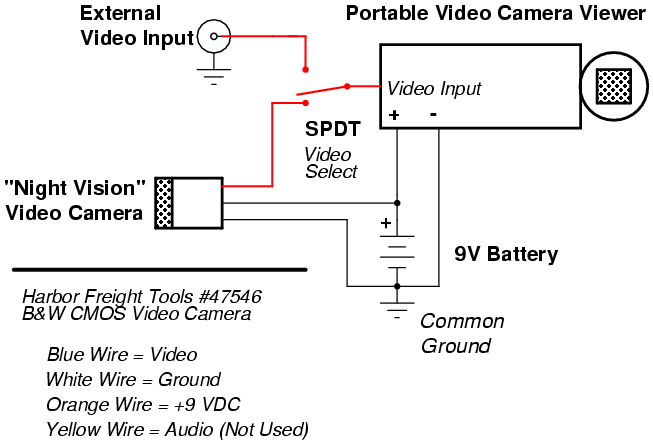
A simple modification to the Portable Video Camera Viewer project can turn it into a low-cost night vision device. All you need to do is add an external black & white CMOS video camera (which should have internal infrared LED lighting) and a SPDT switch. Harbor Freight Tools sells a perfect camera for this. The part number is 47546 and should be around $30 when on sale. Wal-Mart also sells several tiny CMOS video security cameras which should also work. The Harbor Freight Tools version comes with six internal IR LEDs, a microphone for receiving audio, and can easily be powered from the viewer's own 9 volt battery. The addition of the SPDT switch will allow you to chose which video input is displayed on the viewer. This will allow you to use the Portable Video Camera Viewer for its original purpose of testing video surveillance installations inside Mosques.
By their nature, CCD camera sensors are sensitive to short-wavelength infrared radiation. You can test this by pointing any remote control at a video camera and observing the pulses of "light."
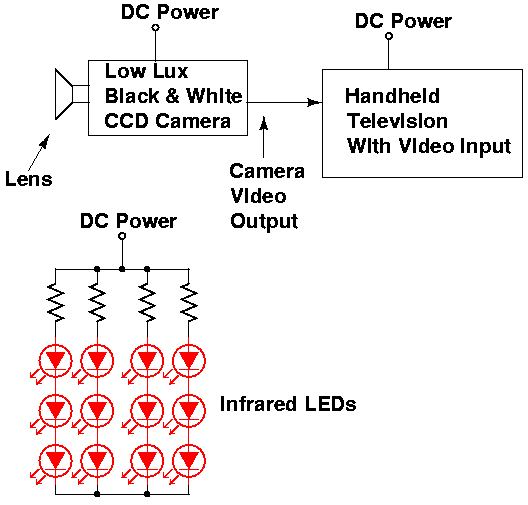
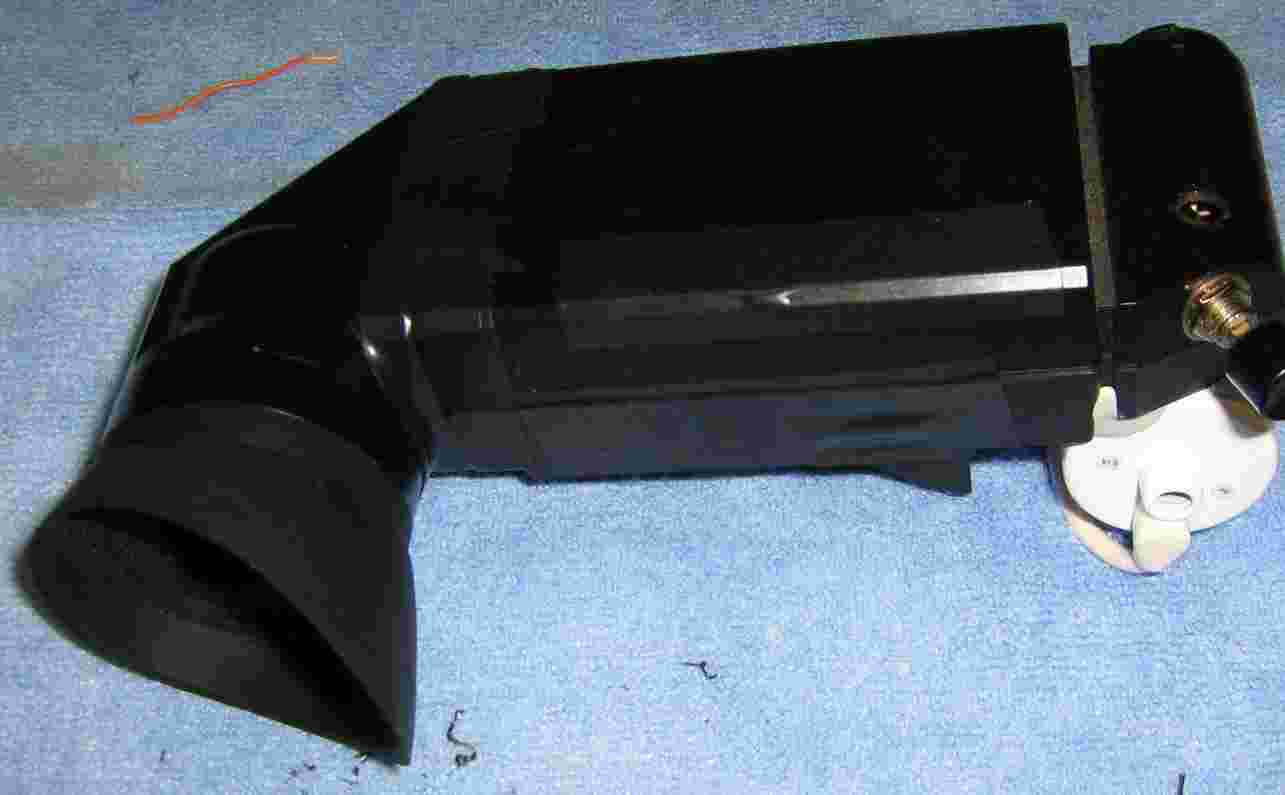
To homebrew a simple night vision device, all you need is a CCD camera hooked up to a simple video display. A handheld television with a video input jack, like what is sold at Radio Shack, is a perfect for use as a battery operated portable display. This version uses an old viewfinder from a 1980s camcorder.
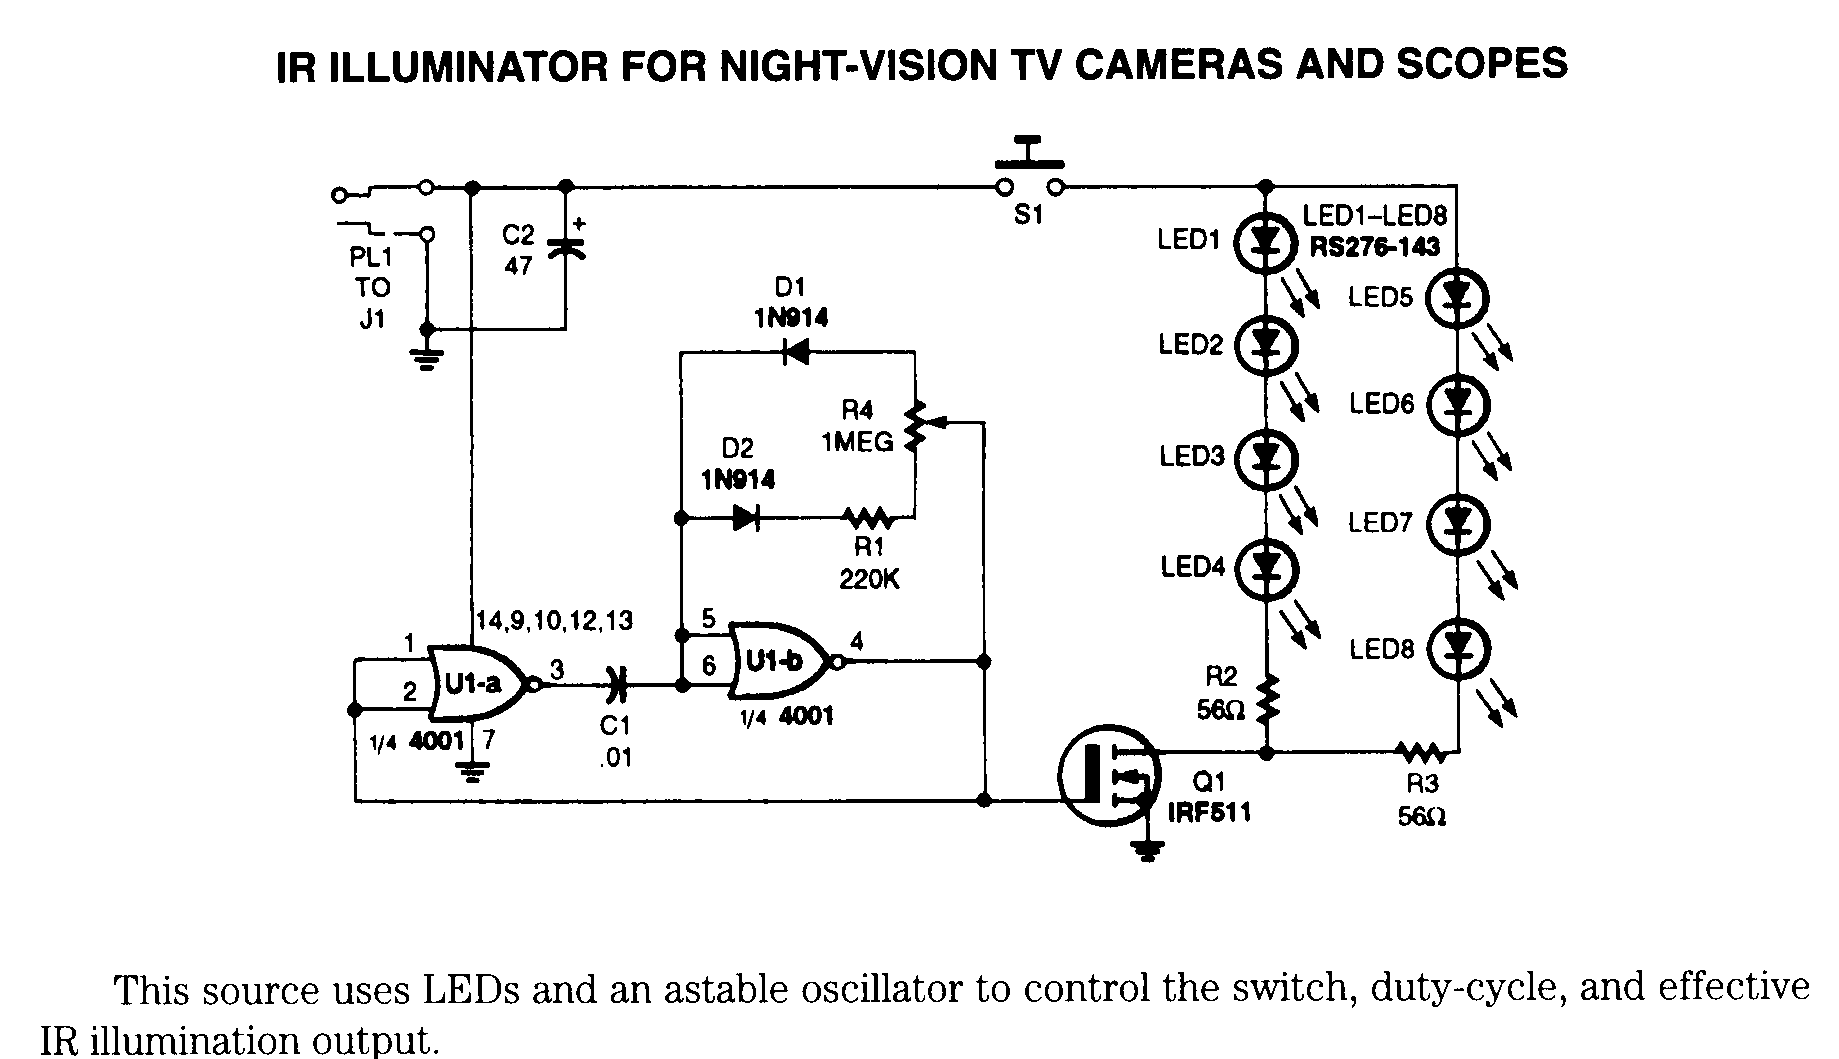
Make an infrared "flashlight" by stringing together surplus infrared LEDs in a series/parallel combination or use an infrared laser diode module from an old laser printer or fax machine.
Some of the specifications for the Harbor Freight Tools #47546 camera are below:
    Power Source : 7.5 VDC @ 300 mA  (9 VDC will work)
    Image Sensor : 1/4-inch CMOS
 Scanning System : 2:1 Interface
      Resolution : 350 TV Lines
       S/N Ratio : > 48 dB  (AGC Off)
Min. Illuminance : 0.0 Lux
             AES : 1/50-1/6000
            Lens : f=3.6  F=2.8
Gamma Correction : 0.45
    Sync Signals : Horizontal = 15,750 Hz  Vertical = 60 Hz  (NTSC/EIA)
    Video Output : Composite 1.0 Vp-p @ 75 Ohms
