Overview
Here are some useful tips and tricks one can use when breaking into a "forbidden" target area. A person should, at least once in their lifetime, break into a Democratic National Committee office to plant surveillance bugs to monitor any illegal "call girl" operations. Just don't screw it up, dumbass...
Covered are a few lock picking tension wrench tricks for aiding in one-handed operations and a method of polishing your lock picks for a better "feel" inside the lock. Also covered is the use of an old blood pressure arm cuff which acts as an inflatable blatter for raising doors off the floor. There is also a really neat trick for determining keypad-based alarm or safe combinations - and it only costs $20! Finally, there is a simple project for building a magnetic-mount magnifying glass.
Feather Tension Wrench
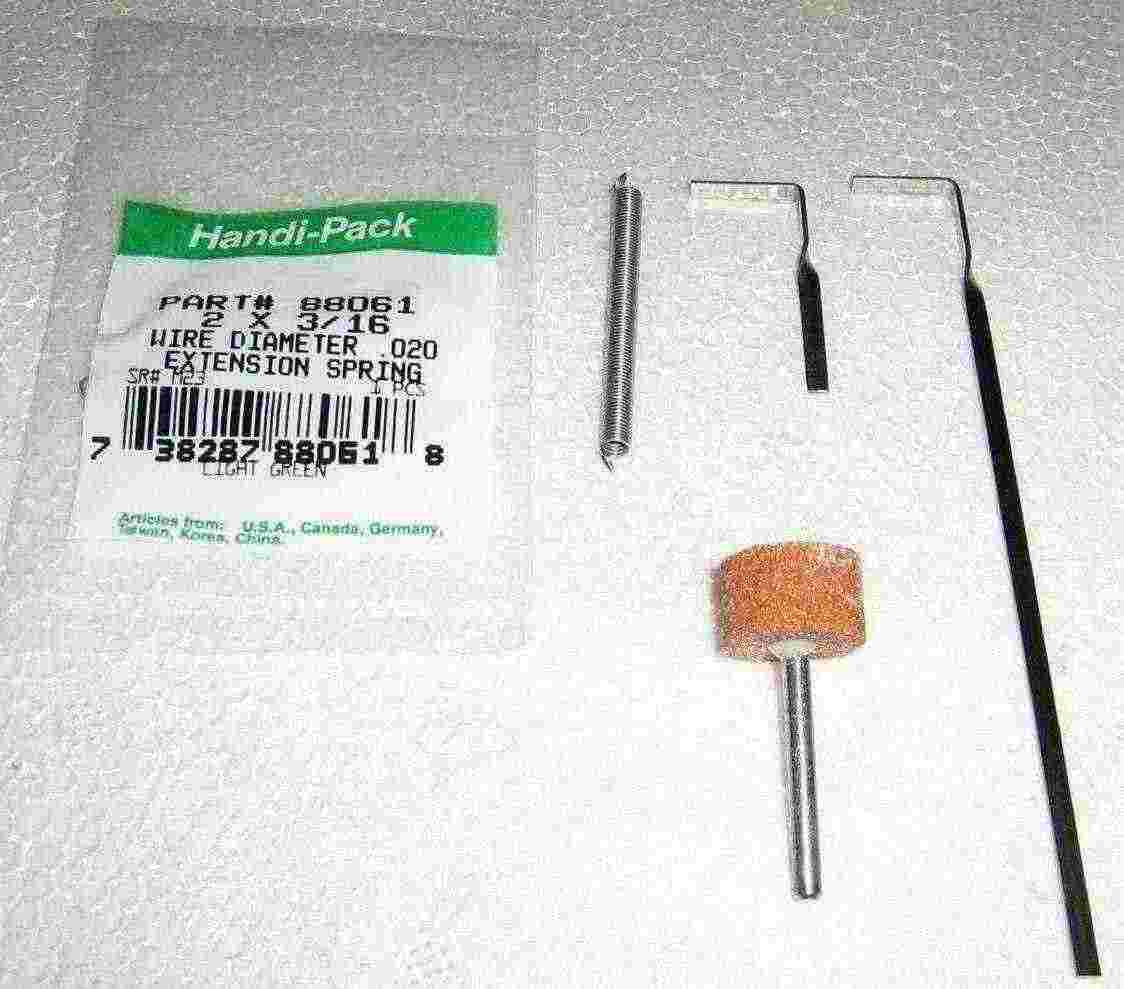
Feather tension wrench parts overview. A stock Southern Ordnance, Long Twist-Flex (TW-03) tension wrench is shown on the far-right. Cut the handle down so it is approximately one inch long. Use a Dremel tool with a cut-off wheel attachment, then debur the cut end with an abrasive wheel attachment.
Push a small-diameter spring onto the shortened tension wrench handle. The spring used for this particular wrench is 2-inches long with a 3/16-inch inside diameter. It fits the wrench perfectly. You'll want to purchase a vast assortment of different spring lengths and spring tensions to experiment with.
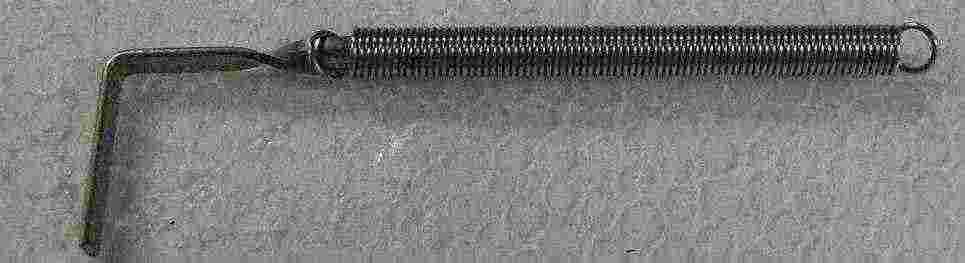
Be careful not to push the spring up too far on the handle. It needs to maintain its "flex."
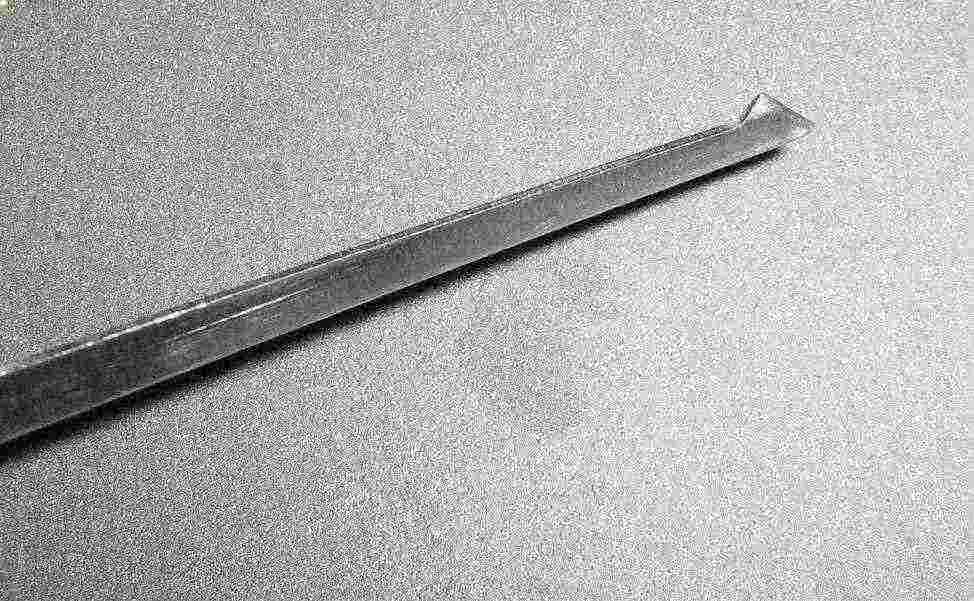
Feather tension wrench in operation. This tension wrench is useful for applying a very light turning pressure, which is handy for picking pin tumbler locks with security (i.e., spool or mushroom) pins.
Adjustable Tension Wrench Weight
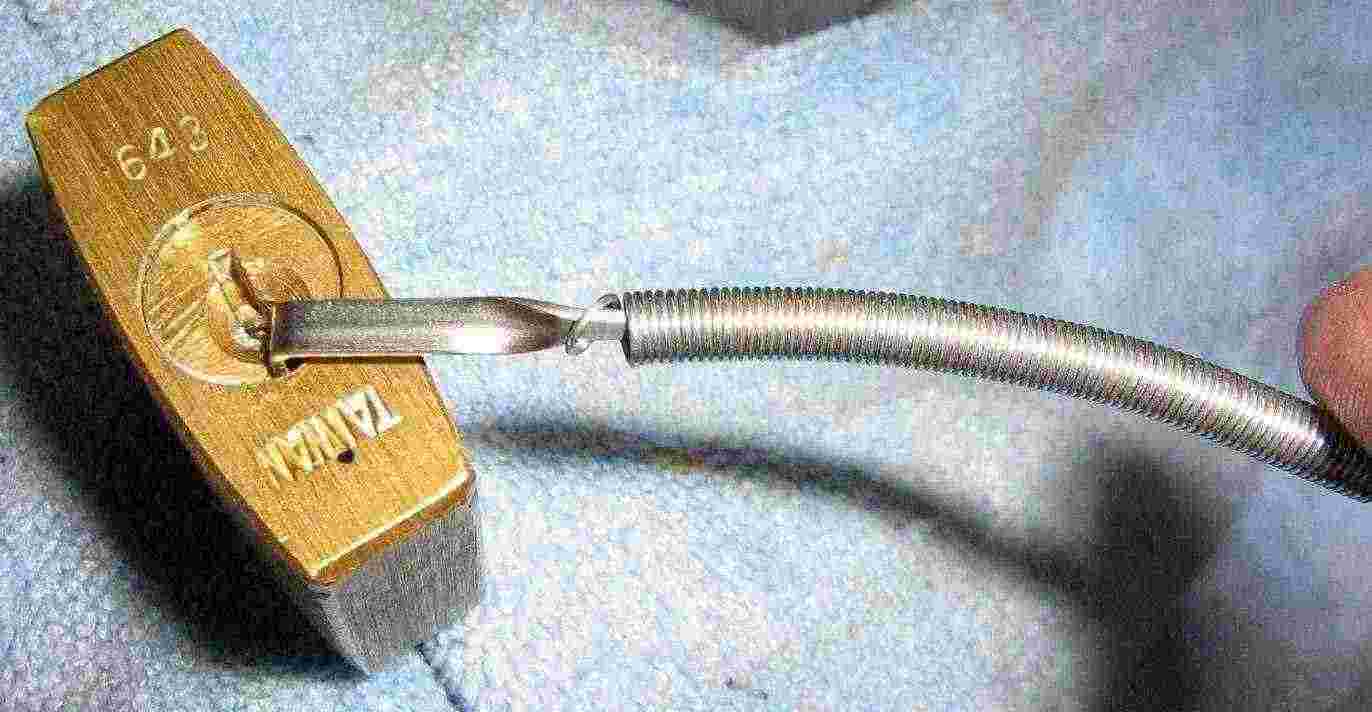
To ease one-handed lock picking or raking, a small adjustable weight can be added to the tension wrench. This helps to simulate the turning pressure you would normally use on the tension wrench. This method will only work on simple pin tumbler locks without any security pins. (To pick "security" locks, you need to feel the security pins with your tension wrench hand).
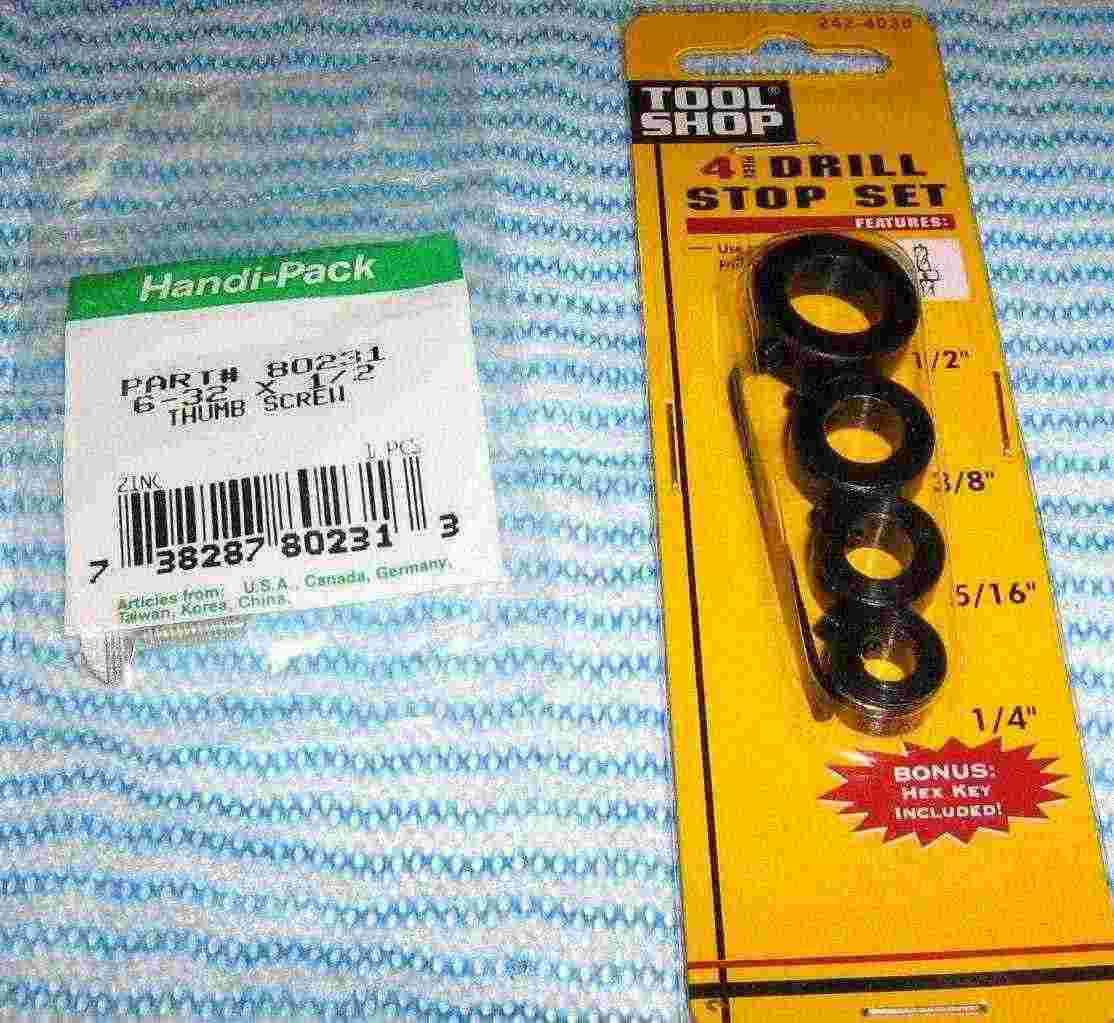
For this project, a 1/4-inch diameter drill stop will be drilled and tapped to hold a #6 size thumbscrew, in addition to the stock set screw. The drill stop can then act as an adjustable "weight" when clamped onto the tension wrench. The set screw on the drill stop does not need to be adjusted and will be held in place with some Loctite.

Tools needed. You'll need a #6-32 tap and #36 drill bit for the thumbscrew. Drill and tap on the opposite side of the stock set screw.
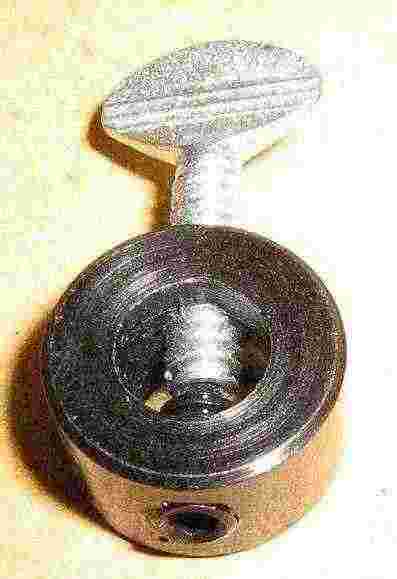
Completed adjustable tension wrench weight. That's all there is!
Close up.

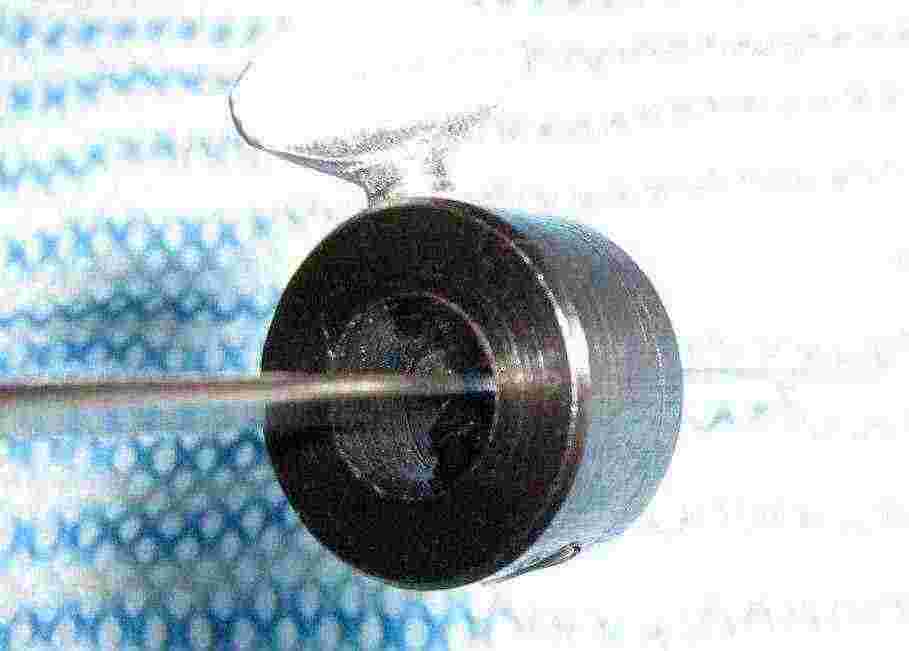
In operation. Slide the weight up or down the wrench for the proper turning pressure. Add more weights if you need more pressure.

You can also do the same thing by drilling holes into the tension wrench and adding slightly modified lead fishing sinkers. Trim the eye hooks so they are removable. Experiment with different size sinkers and tension wrench hole positions.
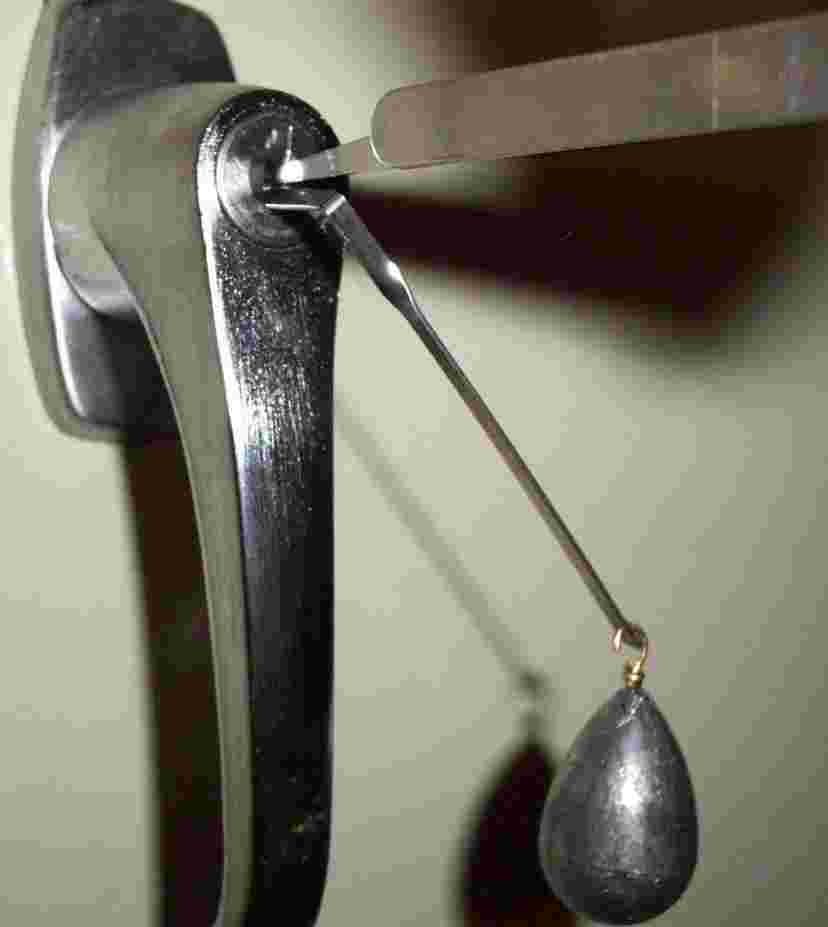
In operation.
Inflatable Blatter
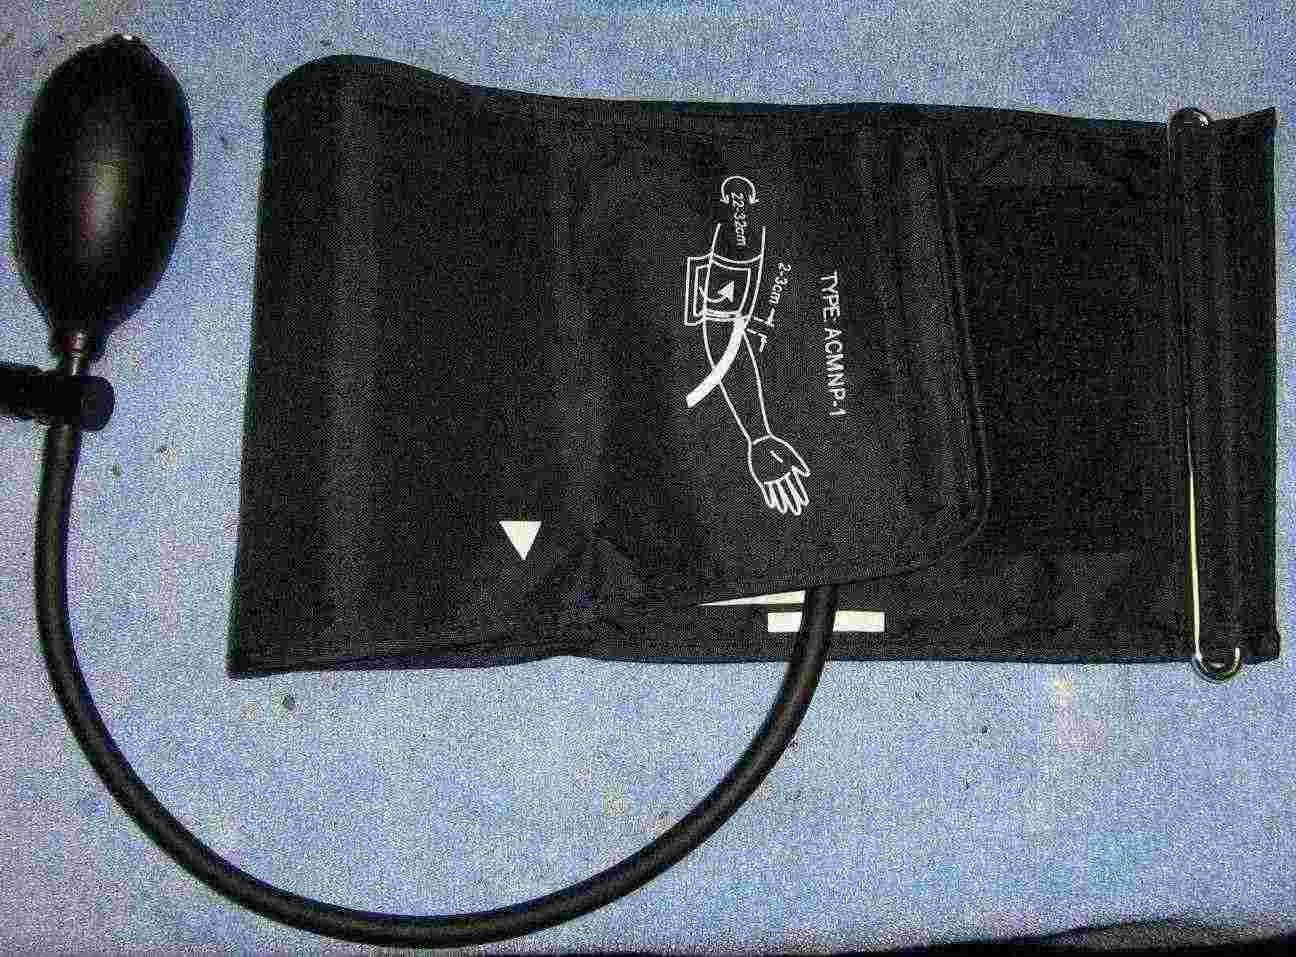
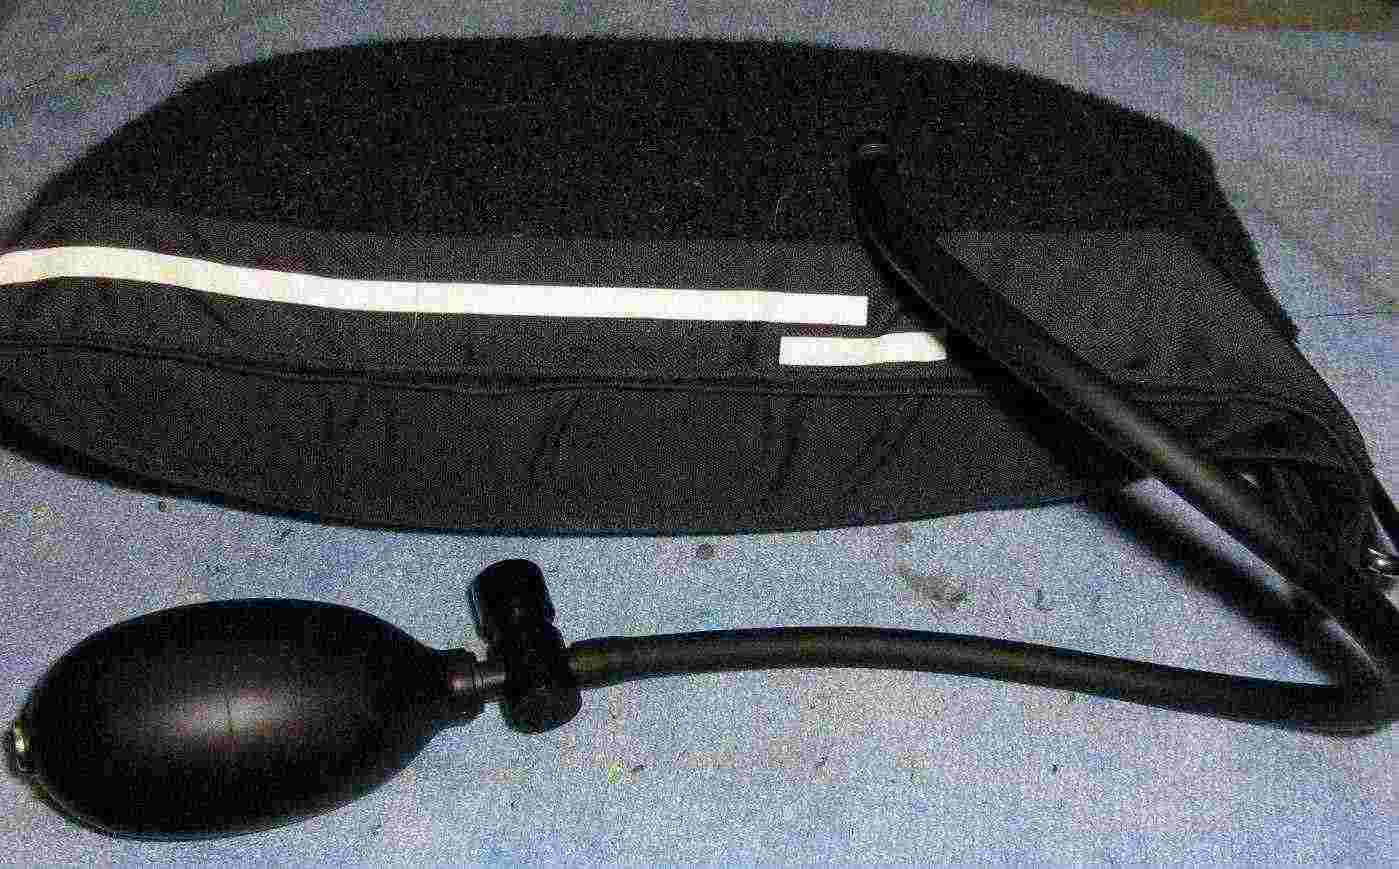
An old inflatable blood pressure monitoring arm cuff can be used as a simple tool to slightly raise closed doors. This is useful if you ever need to slip something underneath a door, and there just isn't enough room. A good example is if you ever need to fill a dorm room with knock-out gas so you can insert a hidden radio receiver inside someone's braces.
This particular blood pressure monitoring cuff has the words "TYPE: ACMNP-1" written on it. The manufacturer is unknown.

The only real modification, besides removing the electronics and shortening the inflator tube, is to remove the little rubber end piece on the arm cuff. This will allow it to slide more easily underneath doors with a narrow gap.
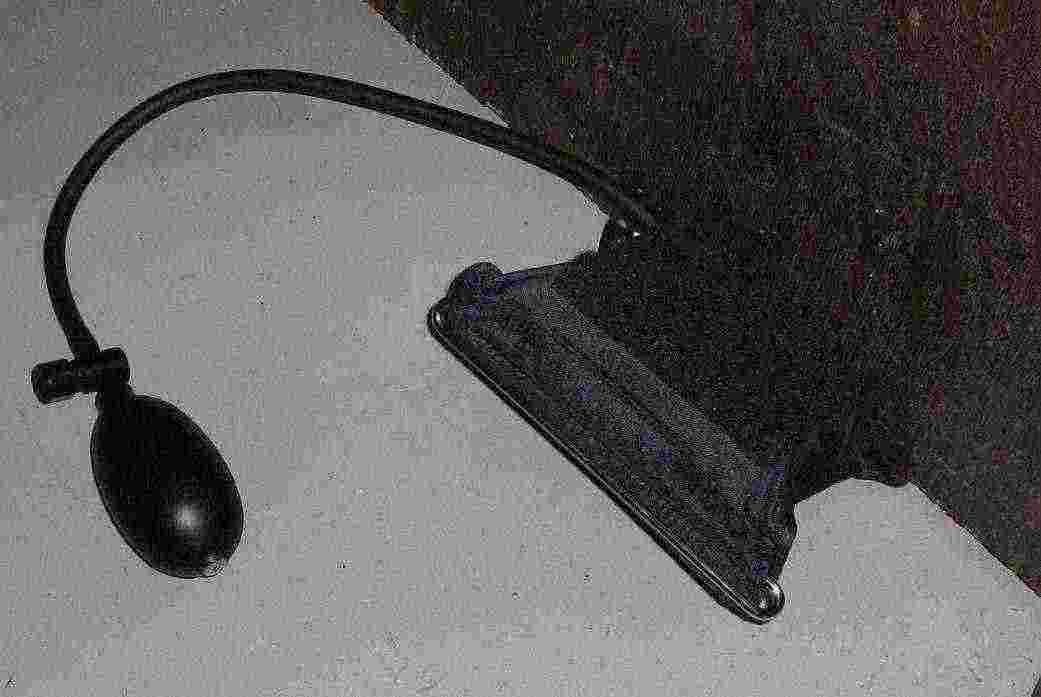
This is what it looks like when inflated. I have no idea what the maximum pressure is.
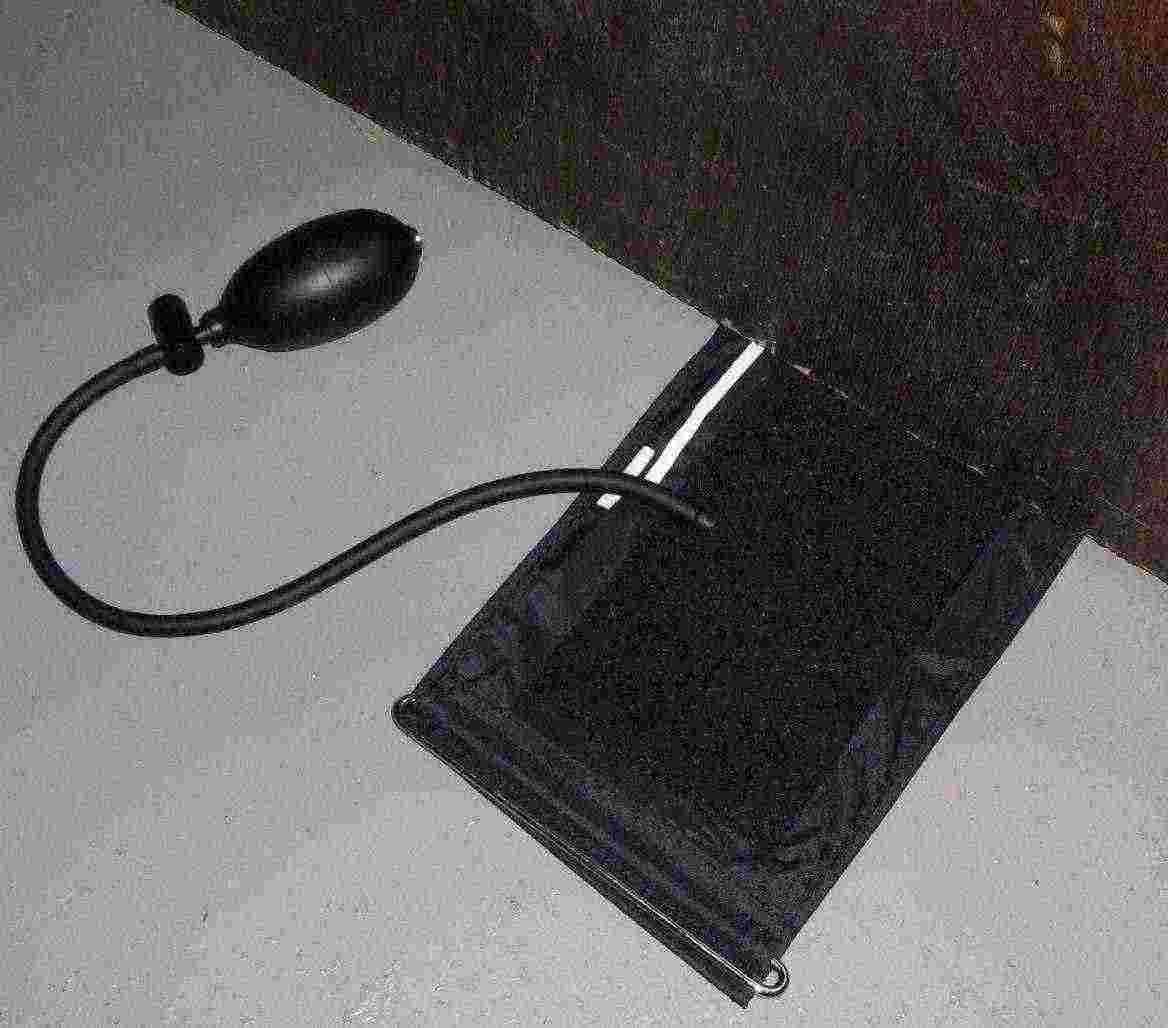
To use it, slide it underneath the door to be lifted. It should be located away from the hinge side for maximum "upwards" pressure on the door.
Then start pumping! It does work, but it only raises the door a fraction of an inch.

This is a commercial version of an inflatable blatter.
Thermal Button Pressed Checker Thing
About a year ago (November 2005), there was a posting on LED-a-Day about a "Thermal Keypad Combo Snooping" project:
http://www.hackaday.com/2005/11/23/thermal-keypad-combo-snooping/
Cracking Safes With Thermal Imaging by Michal Zalewski
Schneier on Security: Safecracking with Thermal Imaging
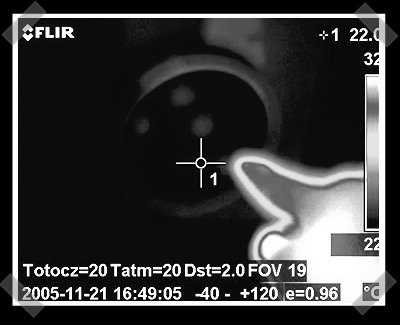
The project involved using a thermal imaging camera to measure the residual heat signature left on an alarm or safe keypad after a person entered the unlocking code. This is a very clever idea, but thermal imaging cameras are still horribly expensive.

You can experiment a bit with a much cheaper alternative. The idea is to use a Cen-Tech Non-Contact Infrared Thermometer (Harbor Freight Tools #93983) to measure the ambient keypad's temperature, then quickly remeasure the key's temperature after it has been pressed. This overall idea still needs a little tweaking, but it does appear to work.
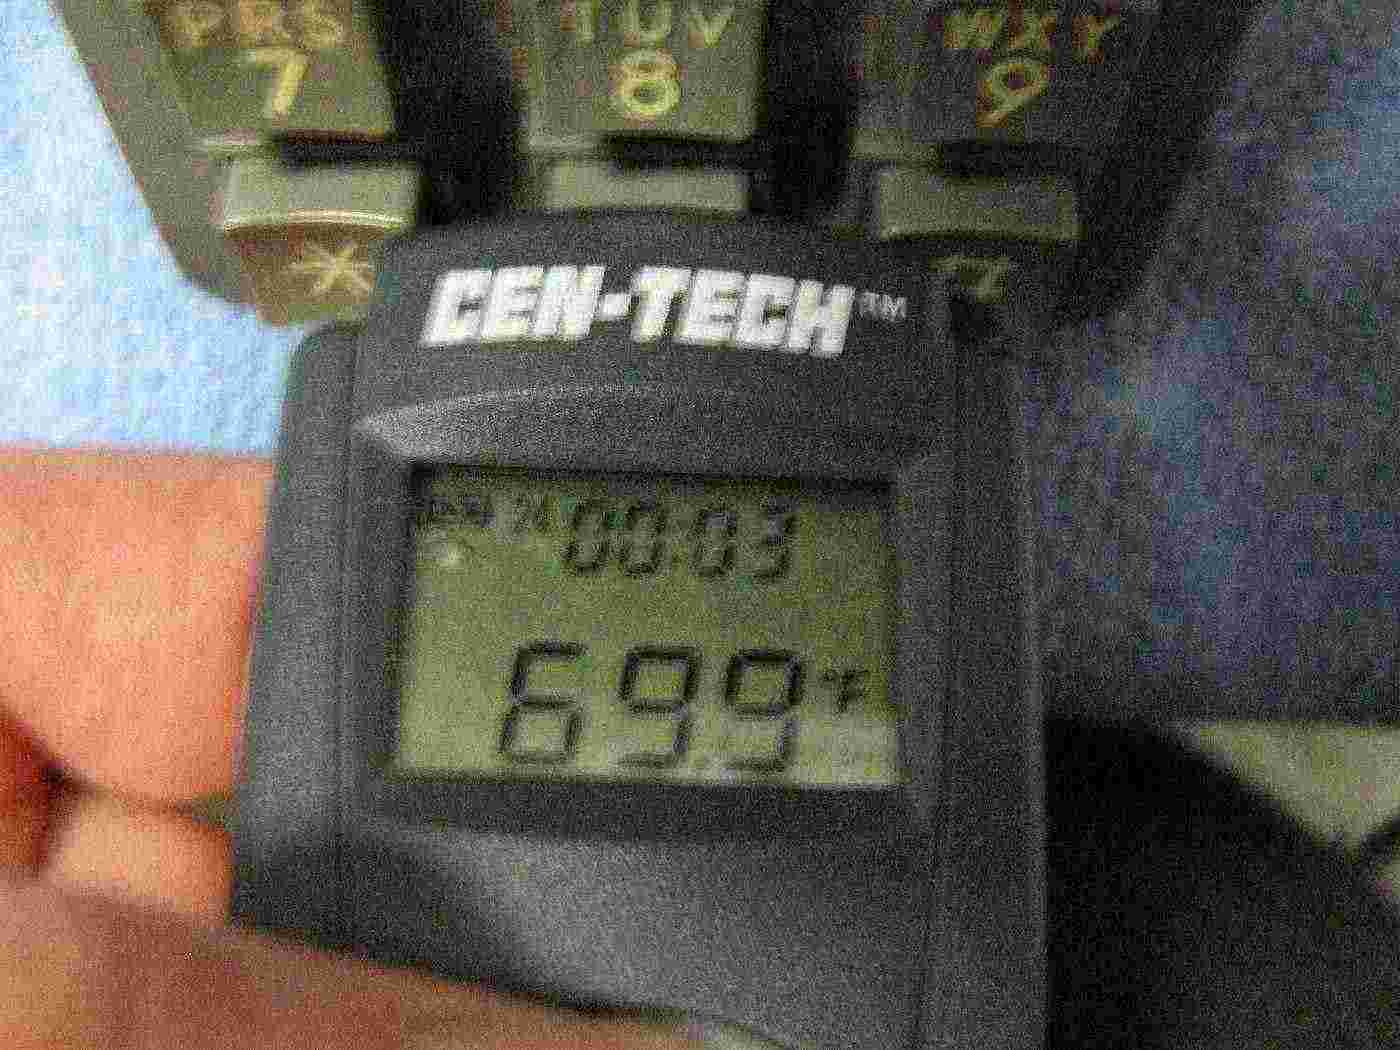
Testing. The Non-Contact Infrared Thermometer is held against a key to measure its ambient temperature, 69.9°F in this case.
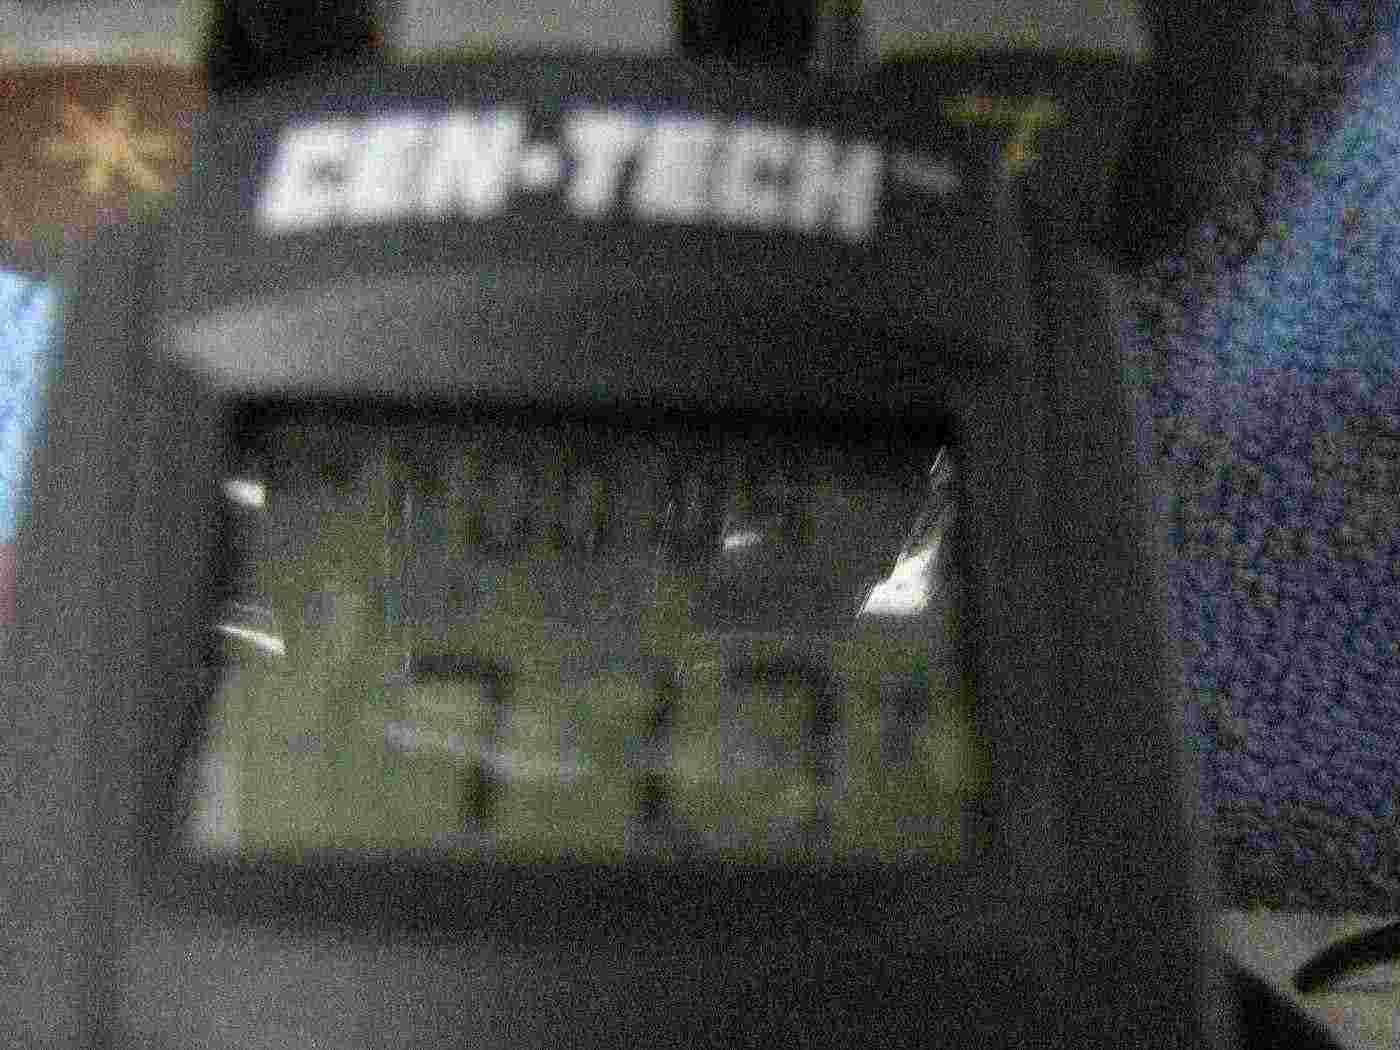
The key was pressed, and the key's temperature is remeasured. It has now risen to approximately 71.7°F. This has to be done very quickly as the key will drop back to room temperature, or to within the thermometer's error margin range, in under two seconds.
Here is a short video clip covering this entire process: GBPPR Thermal Keypad Combo Snooping (WMV)
In the above video, the key's temperature starts out at around 69.7°F. After the key is pressed, it immediately goes up to 73.4°F. It then starts to drops back down to around 71.4°F.
Polished Lock Picks
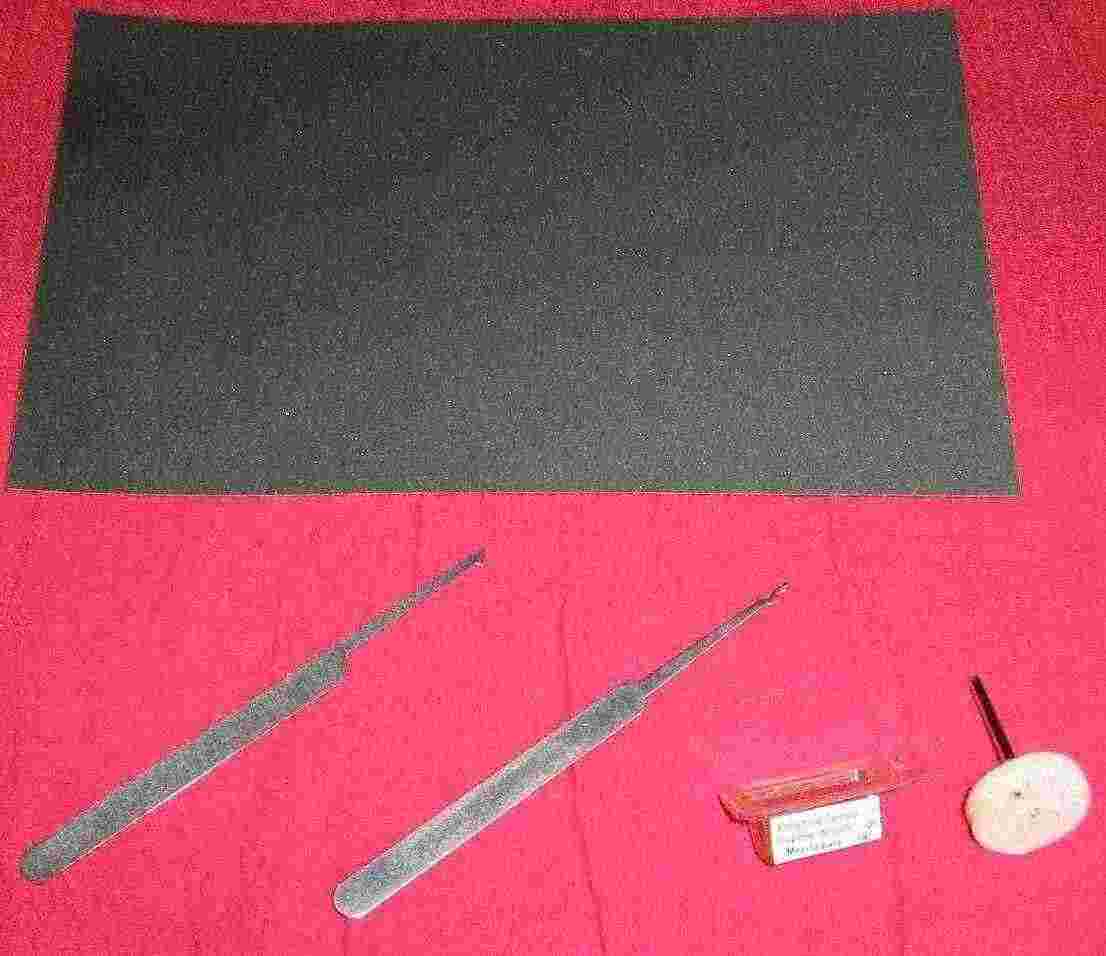
Commercial, mass-produced lock picks are often stamped out of sheet metal. This means they'll have sharp edges which, if not properly sanded down, will catch inside the lock or even, in some cases, leave tell-tale forensic markings inside the lock. For better pick performance and "pick feel" it is a good idea to polish your picks - or at least that has been my experience. Your milage may vary on this one. It may be a good idea to start out practicing on some "cheap" lock picks before destroying your set of Falle-Safe picks.
All you'll need for this one is some 1000 grit wet/dry sandpaper and a Dremel tool with some polishing compound (Dremel Tools #421) and a buffing wheel attachment.

Overview of some stock Southern Ordnance lock picks. Note the fairly sharp edges.
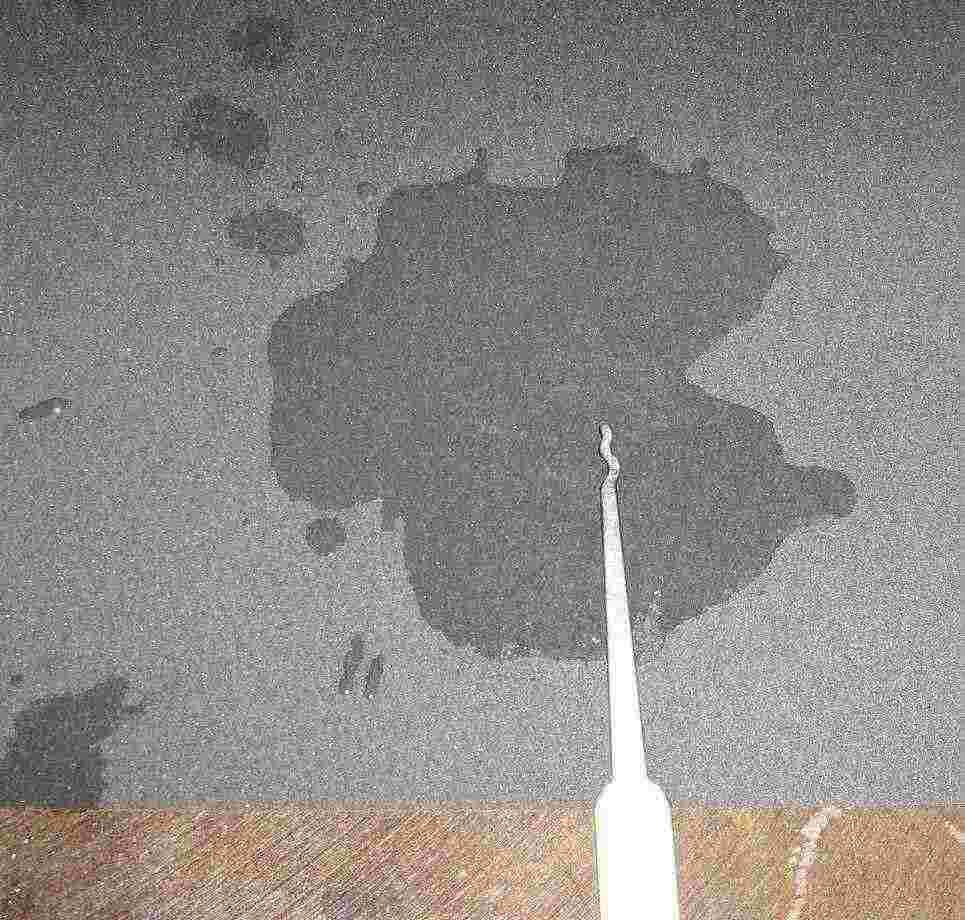
Lightly sprinkle some water onto the 1000 grit sandpaper. Work the lock pick over the sandpaper in a figure-eight pattern being sure to rotate the pick from time-to-time to get both sides. The idea is to remove any "high" spots on the pick's sides while smoothing down the edges.
Be sure to do this on a very flat and sturdy surface.
Picture showing some of the high spots being removed from the lock pick. Note the sanded areas near the tip of the lock pick.

After the pick has been sanded, you can then perform the final step of polishing the pick to a mirror-like finish. Apply some polishing compound to the buffing wheel in the Dremel tool and lightly work both sides of the lock pick.
The top pick in this above picture is a stock pick, the one below it has been polished to nearly a mirror finish.
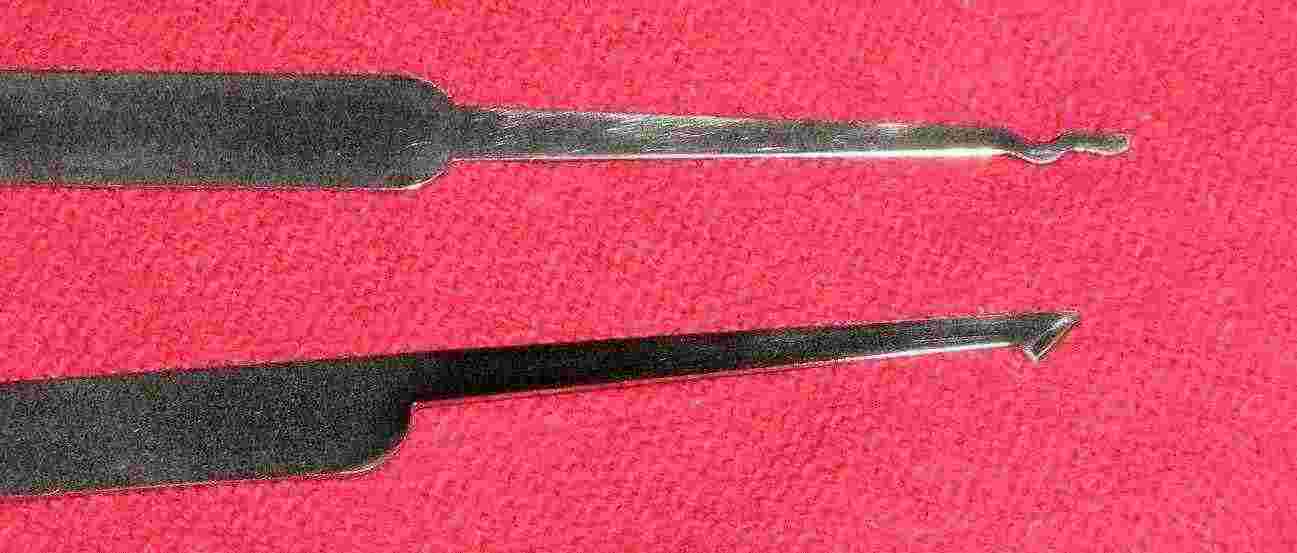
Alternate view. Stock lock pick on top.
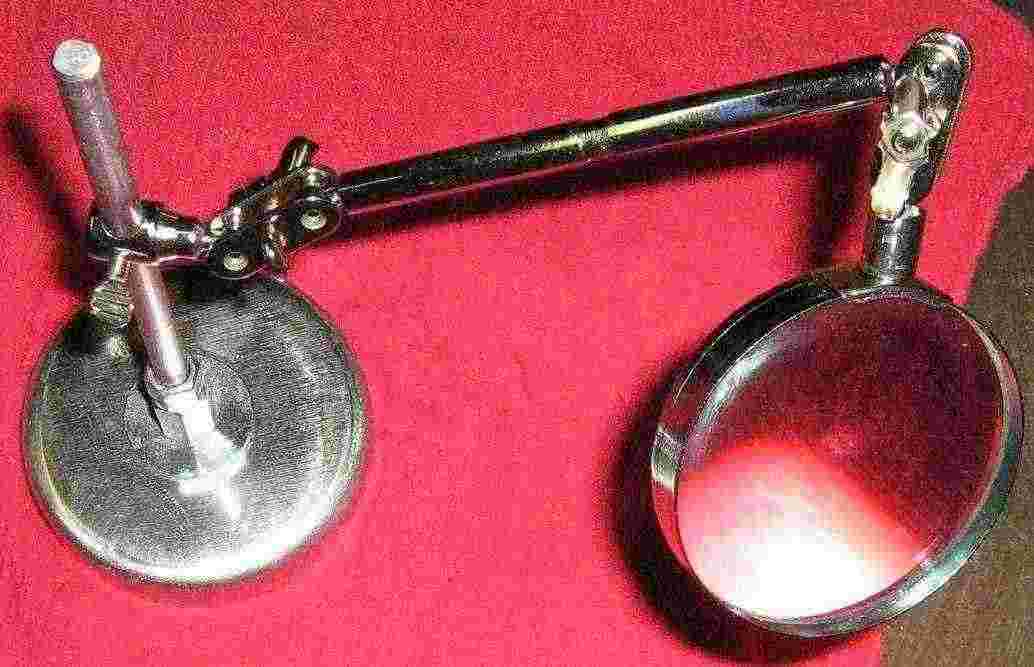
Safe Dial Magnifier

A useful tool when cracking "analog" safes is a simple magnetic-mount magnifying glass. This is then placed over the safe's dial to aid in manipulation.
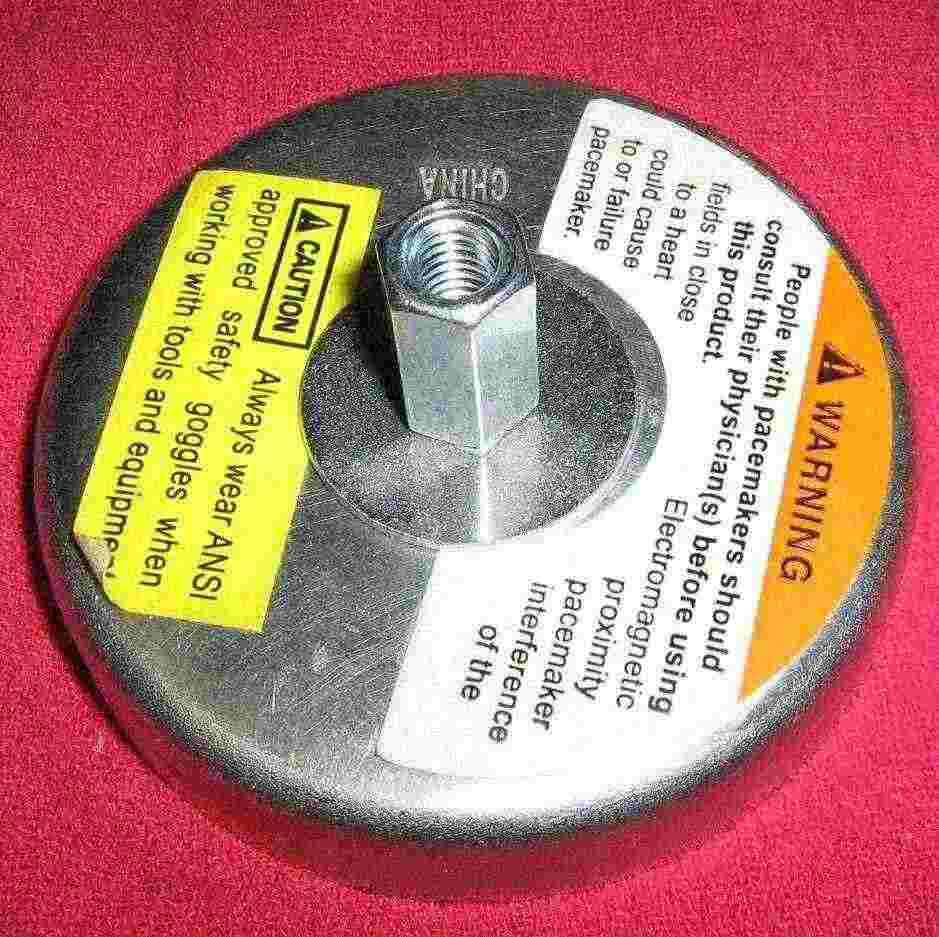
Commercial magnetic-mount magnifiers exist, but the magnetic mount is often not very powerful. This version will use a very powerful welding Magnetic Ground Block, which is also available from Harbor Freight Tools (#30754). The magnetic base is 3.5-inches in diameter and can probably handle ten pounds of weight with no problems. You will also need one of those "Helping Hands" tools with the magnifying glass attachment (Harbor Freight Tools #319).
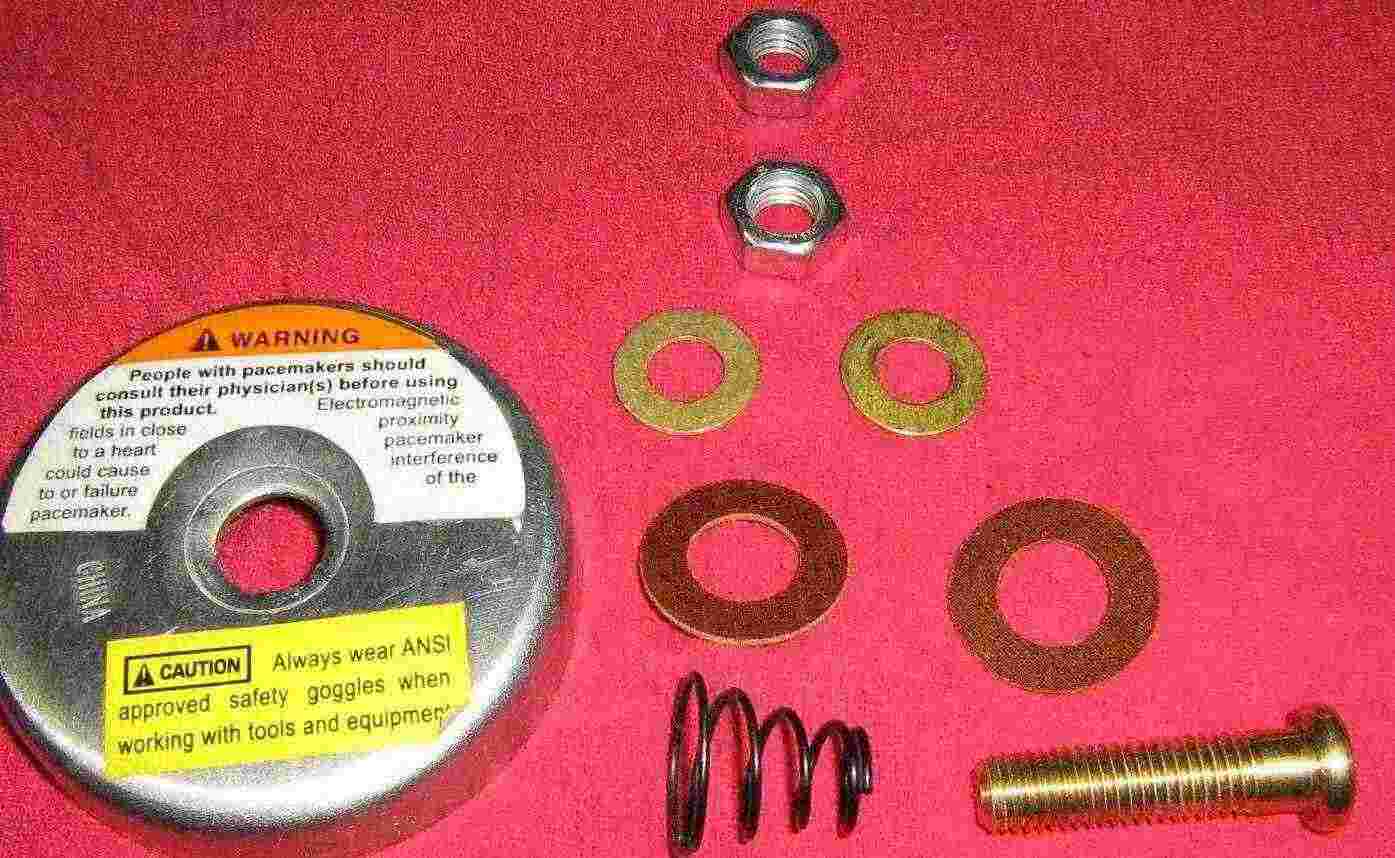
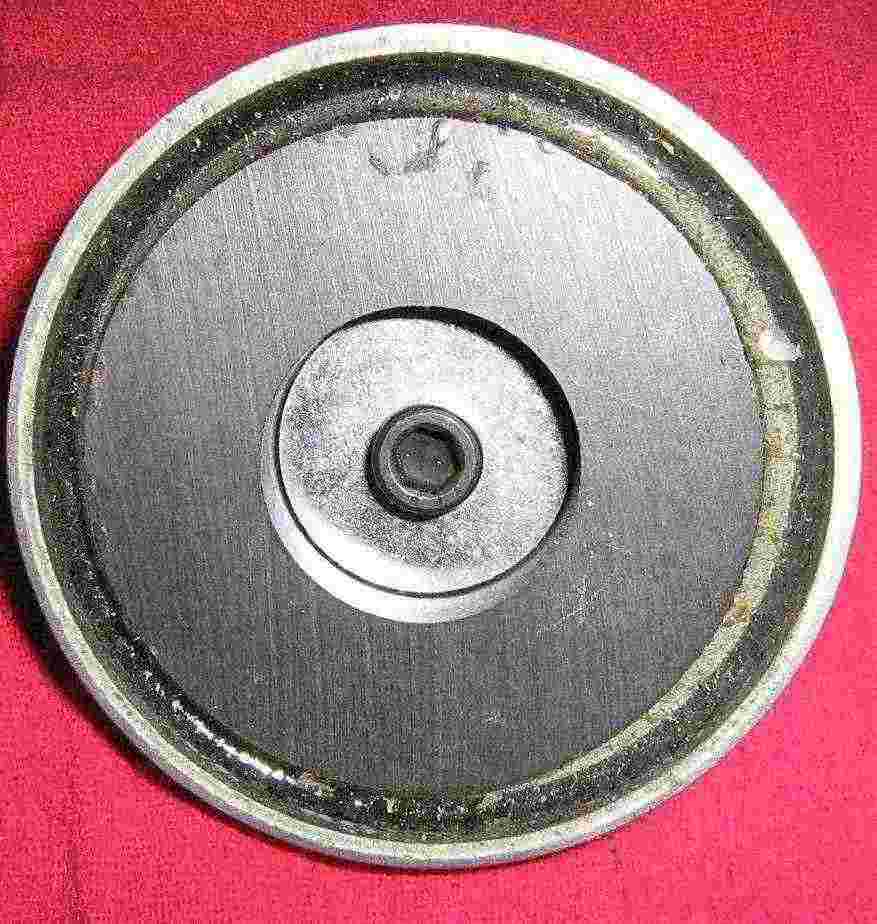
Start by taking the Magnetic Ground Block apart. You'll just need the magnetic base for this project. You may wish to remove all the stupid stickers to make it look pretty.
Then get two 1.25-inch outside diameter (5/16-inch inside diameter) fender washers, a 5/16-inch coupling nut, and an inch long 5/16 bolt.
Bottom view. Put it together like this with one fender washer on top and one on the bottom with the coupling nut and bolt holding everything together. Secure everything very tightly.
Top view.
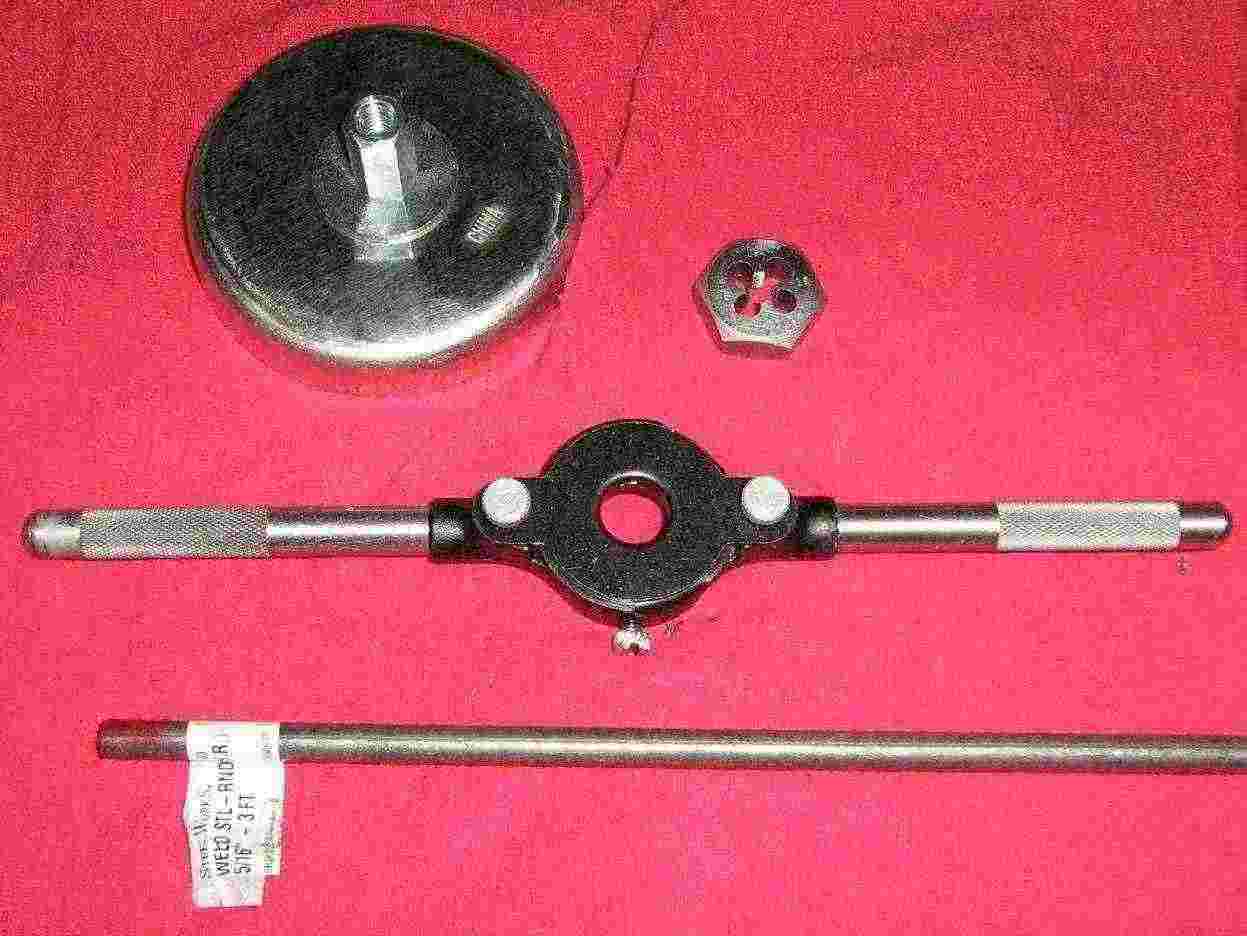
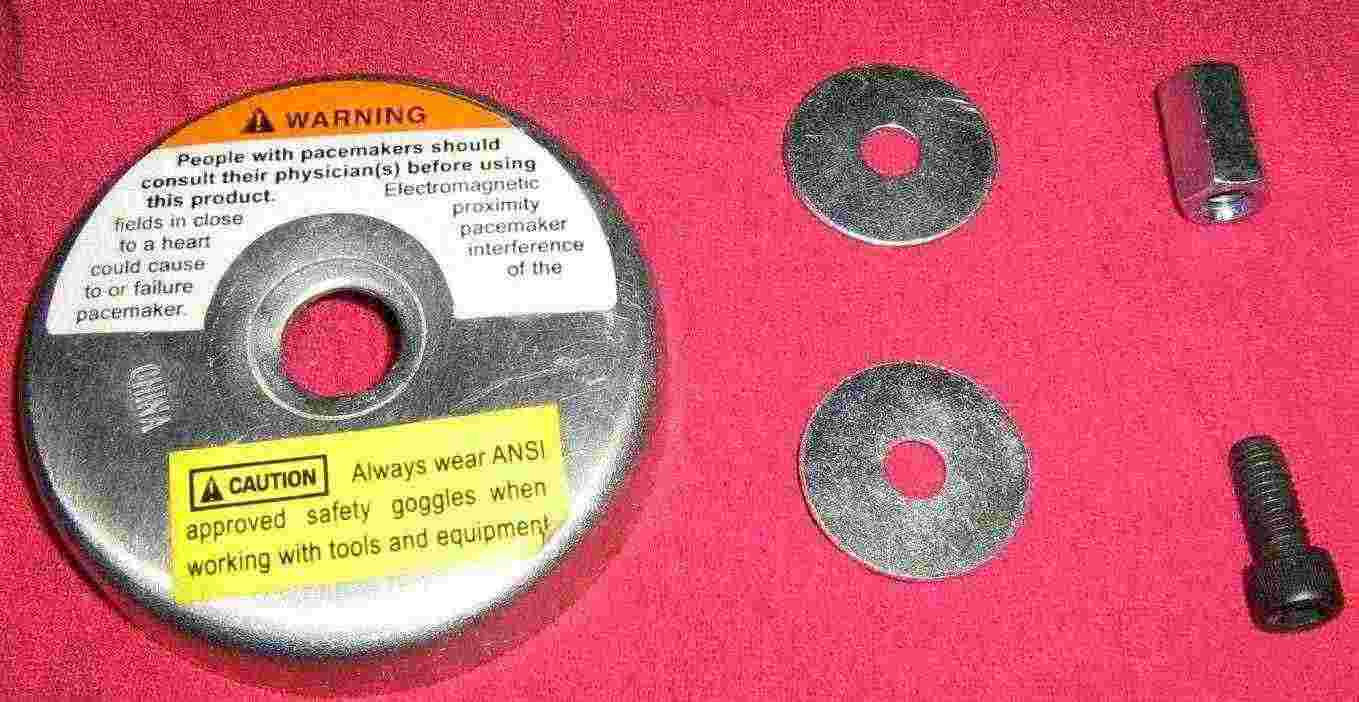
Next, get a six inch long piece of 5/16-inch diameter steel rod and a 5/16-18 thread die. You'll need to thread one end of the steel rod to screw inside the coupling nut.

It should look something like this when finished. Use two "jam" nuts on the threaded end to secure the rod into the coupling nut. You will also want to polish the steel rod with some fine sandpaper or steel wool.
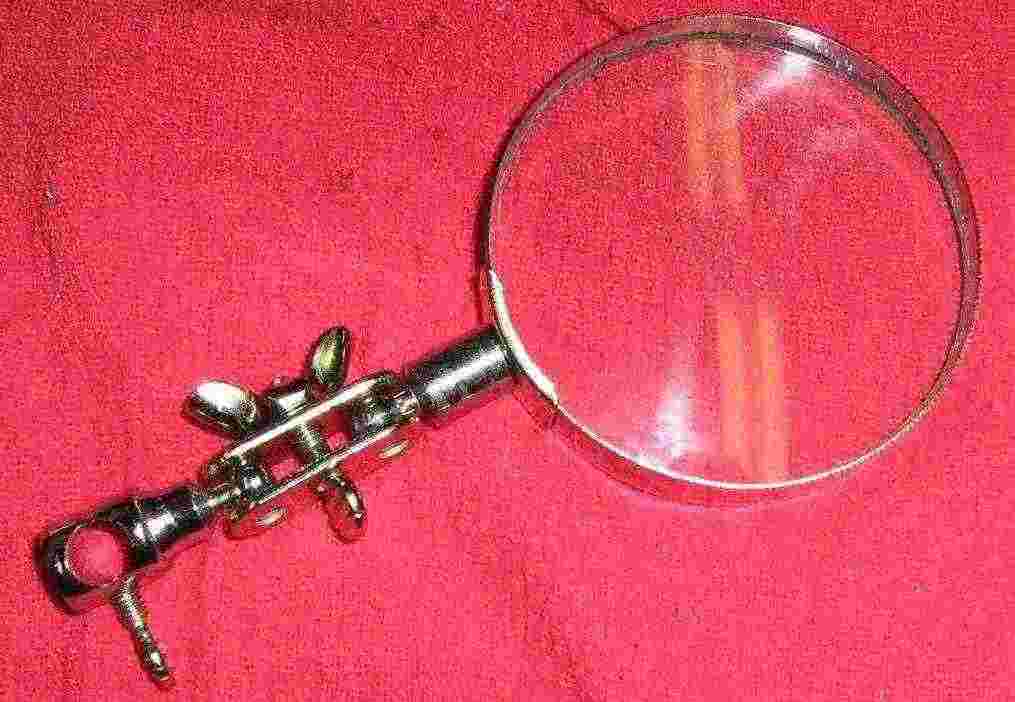
Remove the magnifying glass attachment from the Helping Hands tool. You may wish to replace the magnifying glass with one of much higher glass quality or magnification.

Screw the steel rod into the magnetic base and slide the magnifying glass attachment onto the rod. Lock it into place with the thumbscrew.
You can use the other parts from the Helping Hands tool if you need an extenstion.

Don't have a safe on hand, but I can glue a Master lock to a filing cabinet.
Links & Notes