This tutorial covers programming trunked frequencies into
the PRO-94 Scanner (Cat. No. 20-524). For the tutorial on the PRO-94 Scanner (Cat. No.
20-524A), click here.
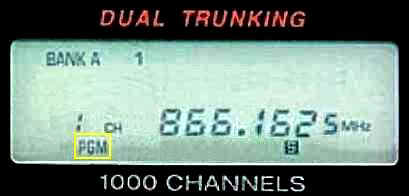
The PRO-94 scanner will allow you to use the following
trunk systems: Motorola Type I, Motorola Type II, and EDACS. For this tutorial, Bank
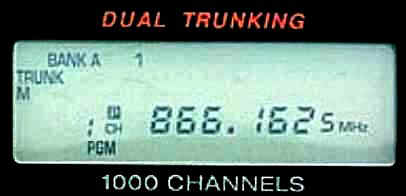
A, system E1, and frequency 866.1625 are used.
| Step
1: Initiate Programming Mode |
| |
 |
 |
| |
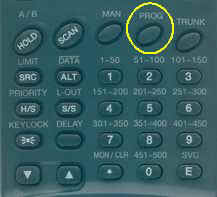
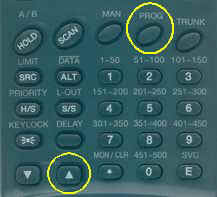
| Press PROG. PGM
will appear on the display. |
| |
|
| Step
2: Enter Trunk Mode |
| |
 |
 |
| |
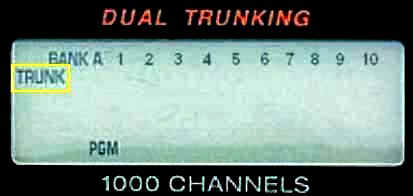
| Press TRUNK. TRUNK
will appear on the display and one or more bank numbers (0-10)
flash. |
| |
|
| Step 3:
Select a Bank |
| |
 |
 |
| |
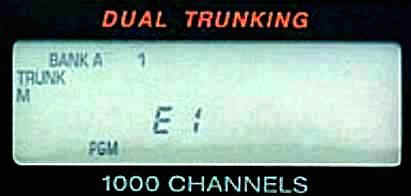
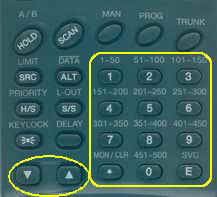
| Press the number key (1-10) of
the desired target storage bank. Select one of the following trunk system types by
repeatedly pressing the UP or DOWN arrow keys. An E
(EDACS) or M (Motorola) will also appear on the display depending on the trunk system
selected.
| You See |
Trunk System |
| E1 |
Motorola Type I, 800 MHz frequencies |
| Ed |
EDACS frequencies |
| E2-800 |
Motorola Type II, 800 MHz frequencies |
| E2-900 |
Motorola Type II, 900 MHz frequencies |
| E2-Hi |
Motorola Type II, VHF frequencies |
| E2-UHF |
Motorola Type II, UHF frequencies |
|
| |
|
| Step
4: Store the System Type |
| |
 |
 |
| |
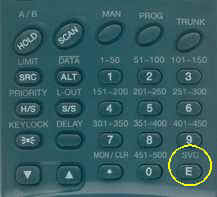
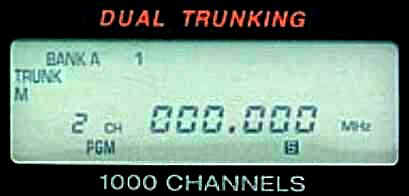
| Press E (SVC). The scanner automatically
selects the first channel in the selected bank. |
| |
|
| Step 5:
Select a Frequency within the Trunk System |
| |
 |
 |
| |
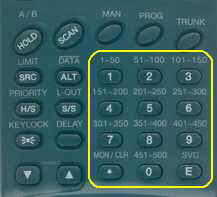
| Use the number keys (0-9) to enter a valid
frequency within the trunk system. |
| |
| Click Here for the
Police Call Frequency Lists on CD |
| |
|
| Step
6: Store the Frequency within the Trunk System |
| |
 |
|
| |
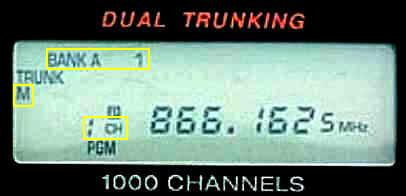
| Press E (SVC). Bank A
and the bank number (1), the channel
number, and E (EDACS) or M
(Motorola) appears depending upon the trunk system selected. Notes:
- If you enter an invalid frequency (outside the selected
range), the scanner beeps, the channel number flashes and ERROR
appears. If this happens, press MON/CLR (.) to clear the frequency,
then repeat the entry.
- For EDACS systems, you must enter the frequencies in logical
channel number (LCN) order.
- If you try to enter a duplicate frequency in a bank, the
scanner beeps and the channel which was previously stored appears.
- It is very important that you enter all the listed
frequencies for the selected agency in Step 3. Otherwise,
trunking will not occur when you press E (SRC).
|
| |
|
| Step
7: Store Additional
Frequencies |
| |
 |
 |
| |
| Press PROG or the UP arrow key to
select the next channel in the bank. Repeat from Step 5
until you enter all the desired frequencies in that bank. |
| |
|
| Step
8: Activate Trunk Scan and Search |
| |
 | Z
 |
| |
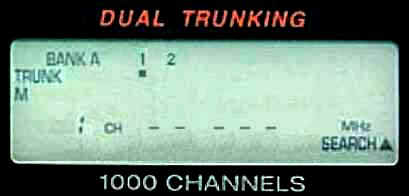
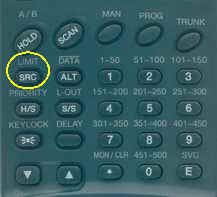
| Press SRC to begin searching for the trunk's data
channel (the channel that controls the trunk). SEARCH
flashes in the lower right corner as the scanner searches for the
data channel. Note: As the
scanner looks through the frequencies, you will see them on the display. You must have a
data channel stored in your trunk channels or the scanner will not trunk. After it
finds the data frequency, it will trunk between talk groups. |
| |
|